This guide describes how to add the Dualshield SSO as a WS-Federation Claims Provider in the ADFS server.
Launch the ADFS Management console
Right click on "Trust Relationships", and then select "Add Claims Provider Trust”
This will initiate the Add Claims Provider Trust Wizard.
In the wizard, click through the welcome page to the "Select Data Source" page
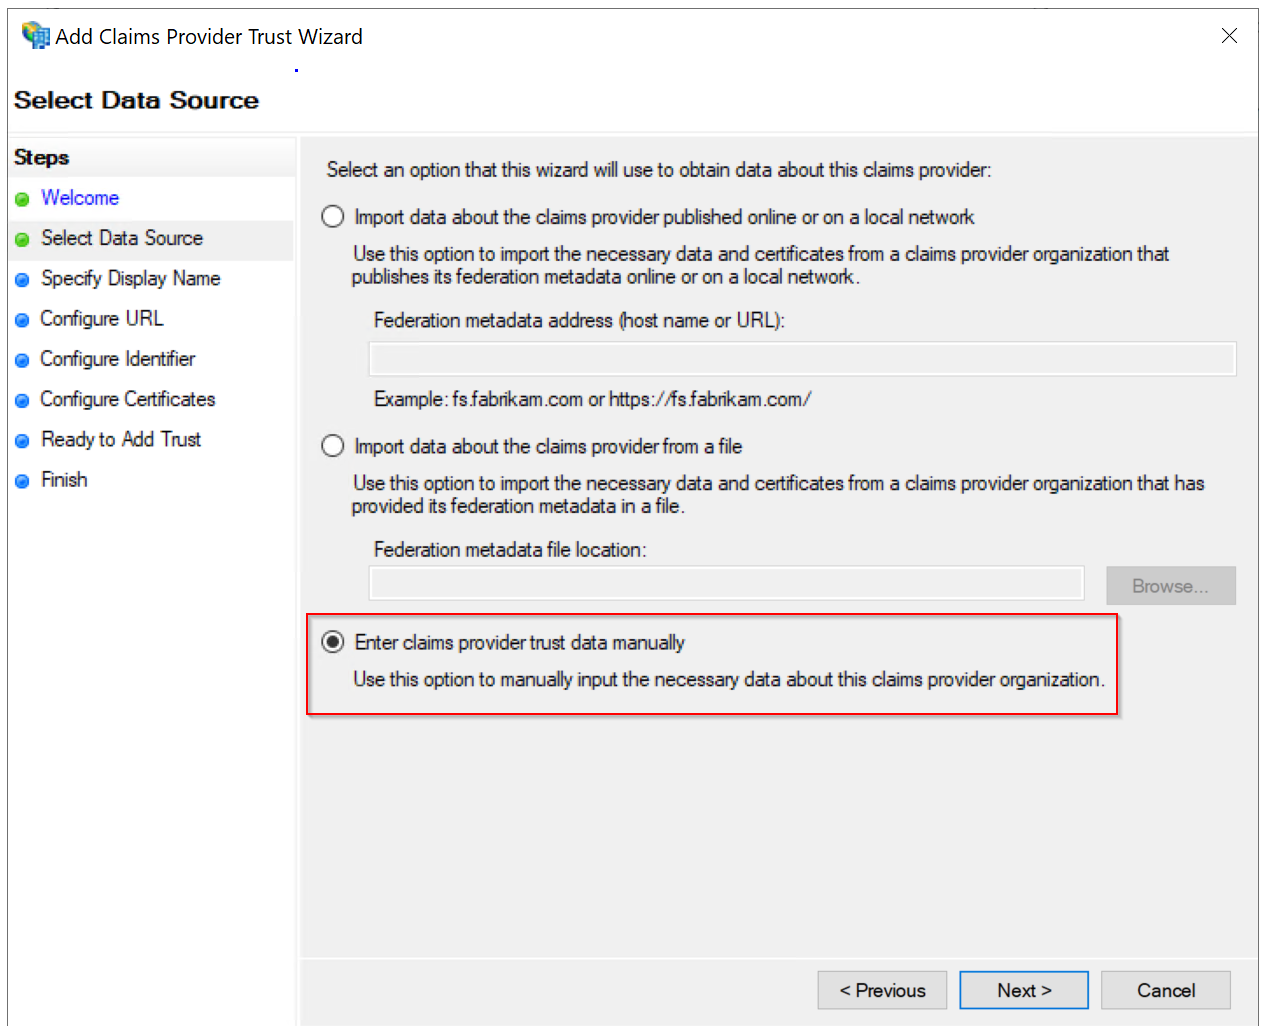
Select the option "Enter claims provider trust data manually"
Click Next
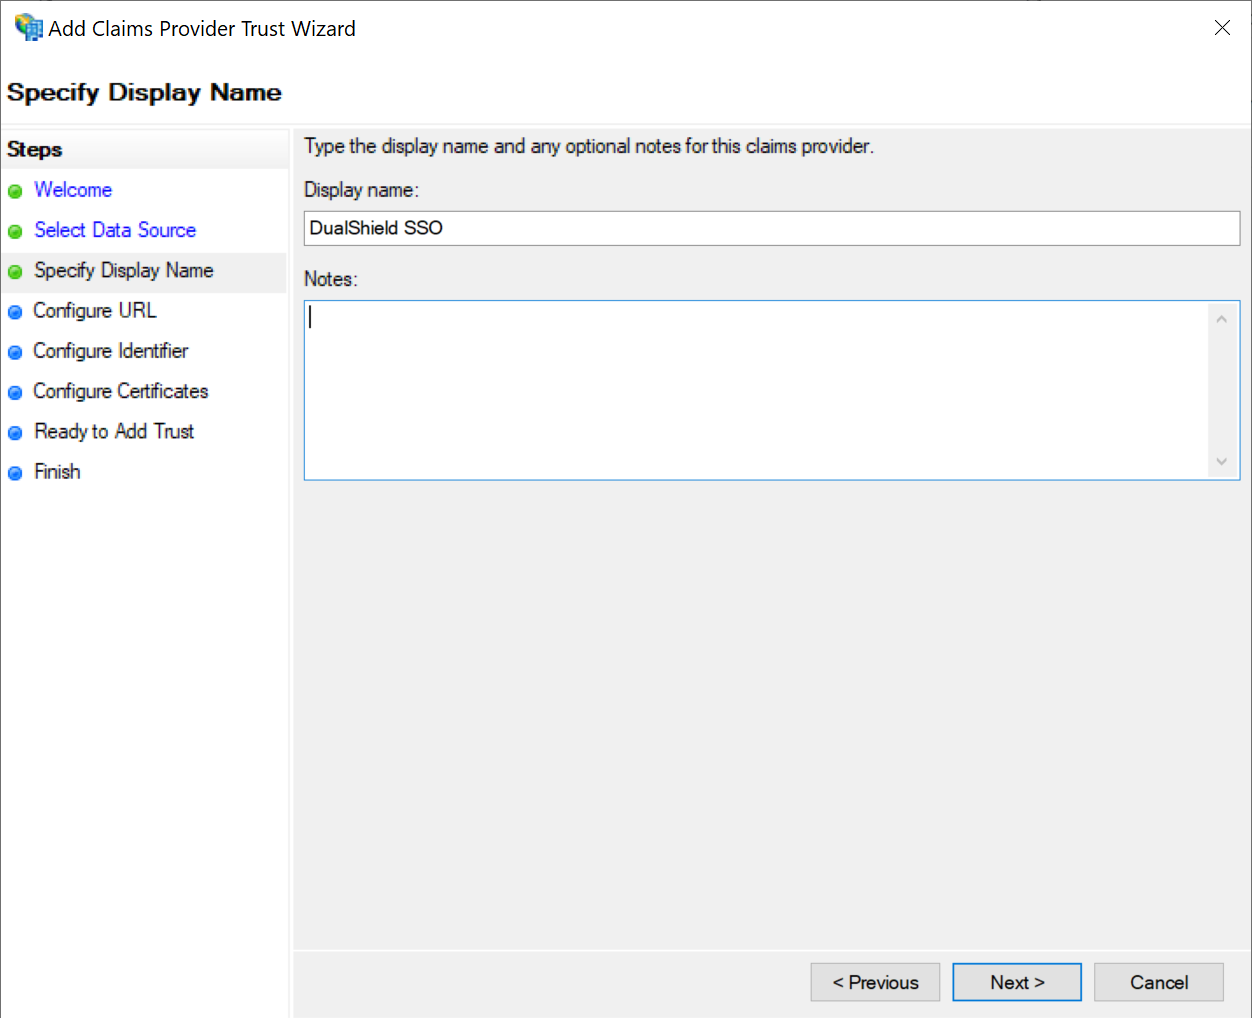
Enter the Display Name for your DualShield SSOL server, e.g. "DualShield SSO"
Click Next
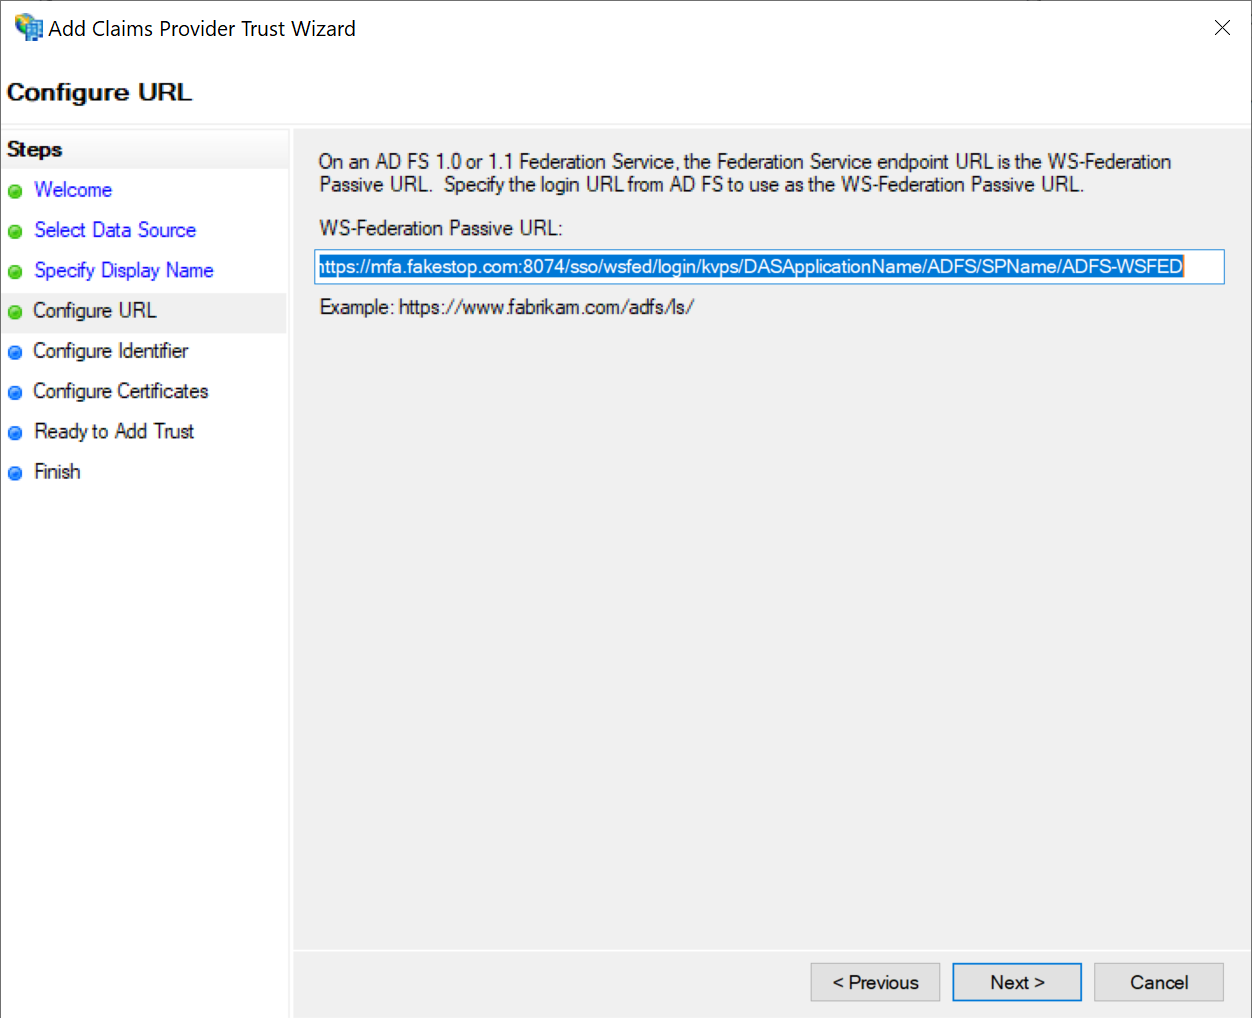
In the WS-Federation Passive URL box, enter the URL below:
https://{dualshield-sso-fqdn}:8074/sso/wsfed/login/kvps/DASApplicationName/{application-name}/SPName/{service-provide-name}You need to replace the following items
| Item | Meaning | Example |
|---|---|---|
| {dualshield-sso-fqdn} | the FQDN of your DualShield SSO server | mfa.fakestop.com |
| {application-name} | the name of the application that you will create in your DualShield for ADFS | ADFS |
{service-provider-name} | the name of the service provider that you will create in your DualShield for ADFS | ADFS-WSFED |
Example: https://mfa.fakestop.com:8074/sso/wsfed/login/kvps/DASApplicationName/ADFS/SPName/ADFS-WSFED
Click Next to continue
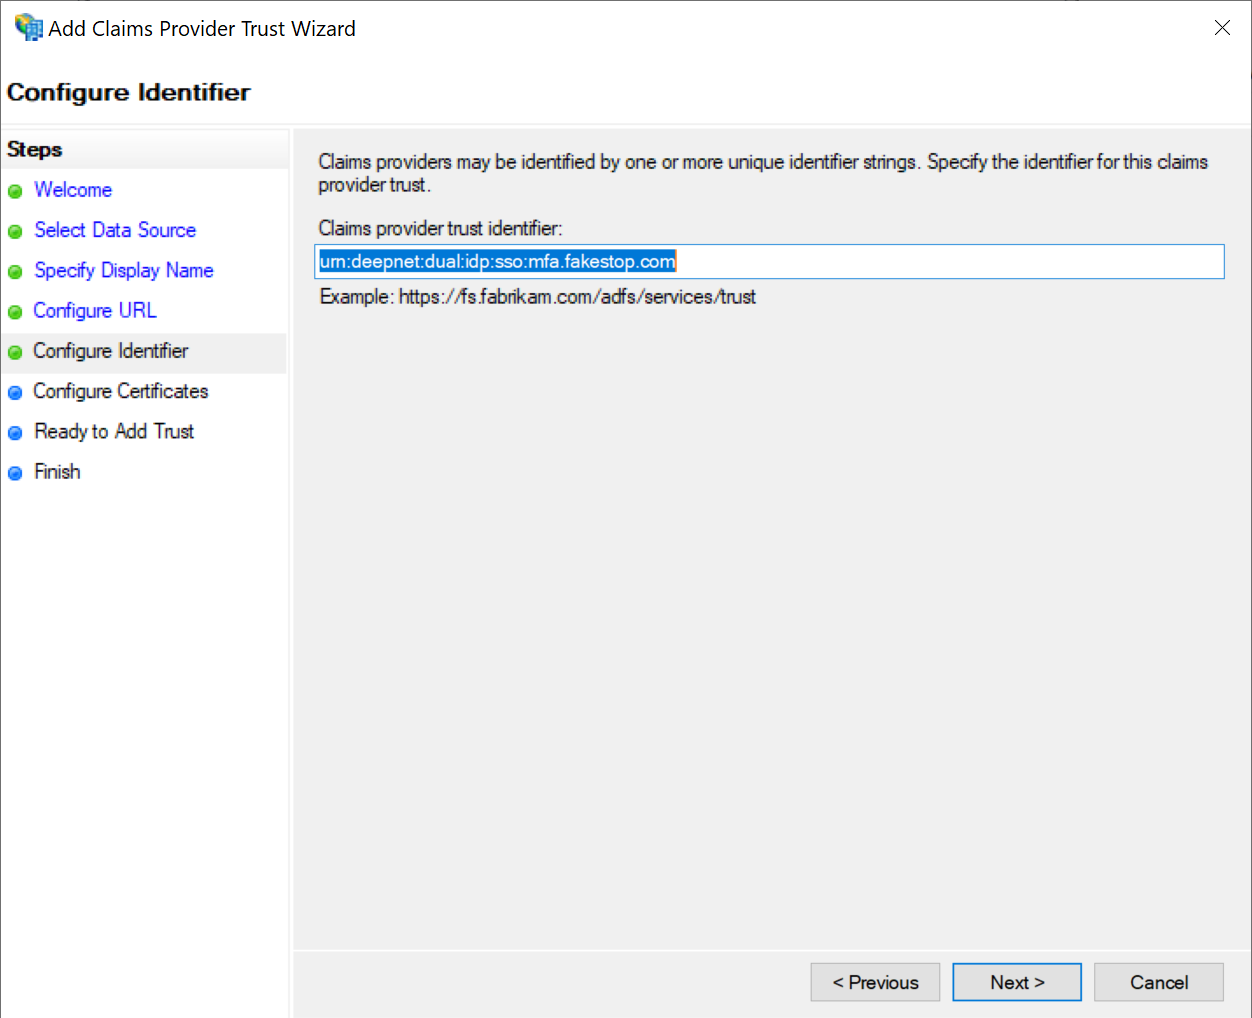
In the Claims provider trust identifier box, enter the Entity ID of your DualShield SSO server, e.g. urn:deepnet:dual:idp:sso:mfa.fakestop.com
Click Next
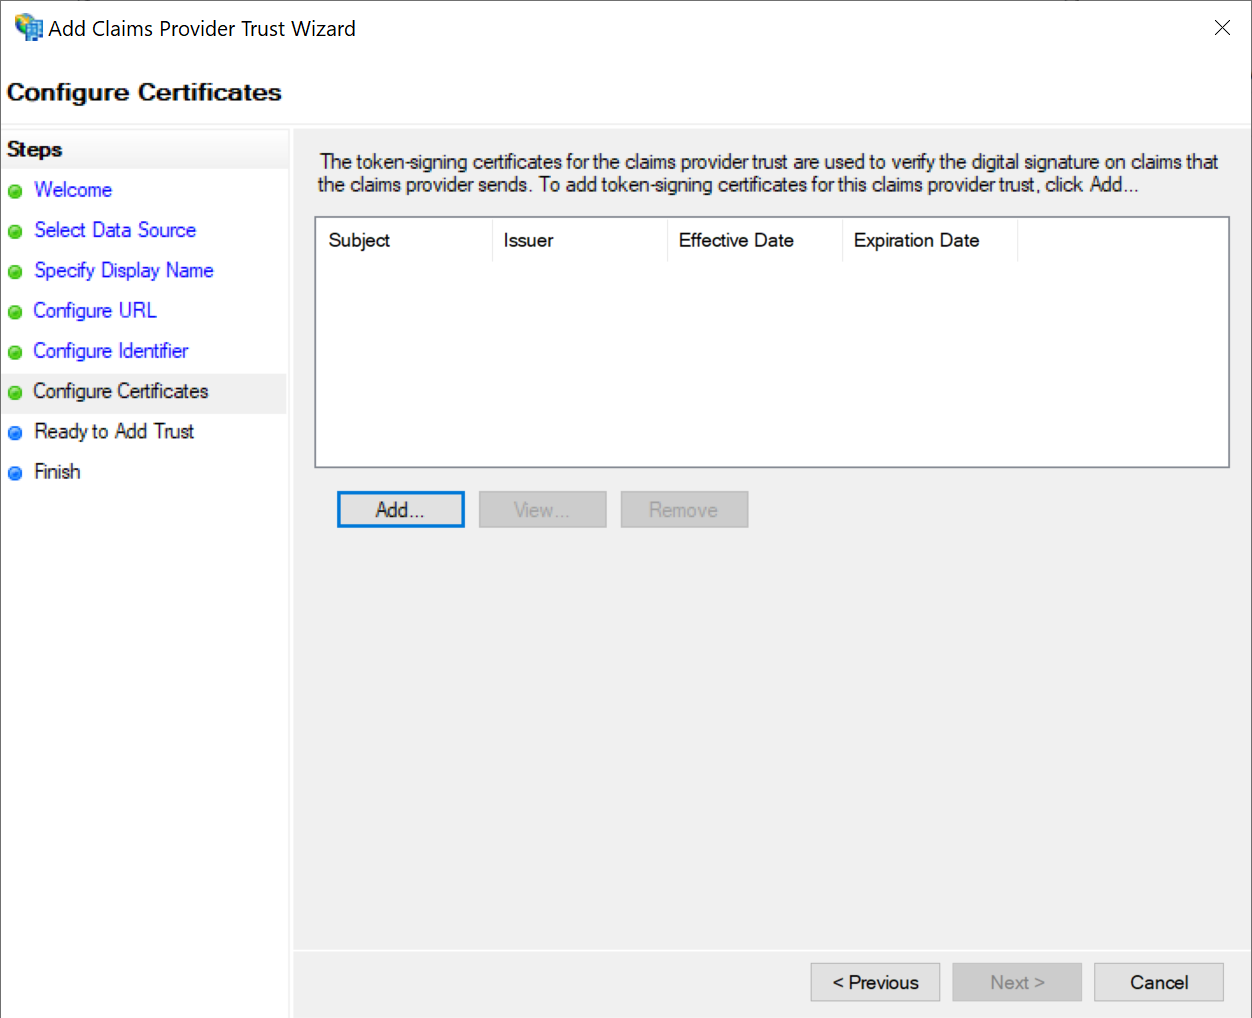
Click the Add button to import the IdP certificate of your DualShield SSO
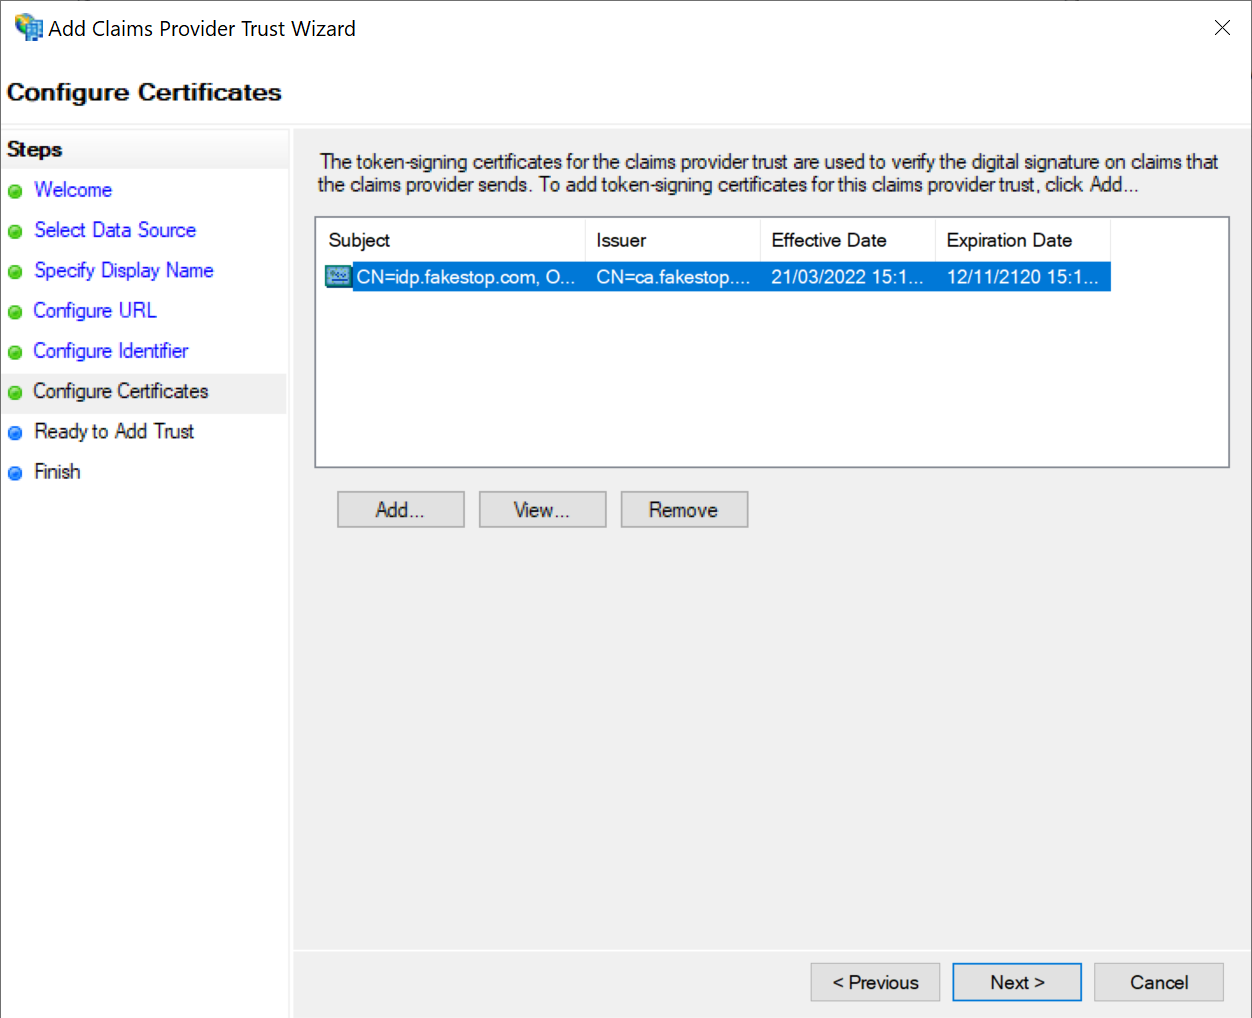
Click Next
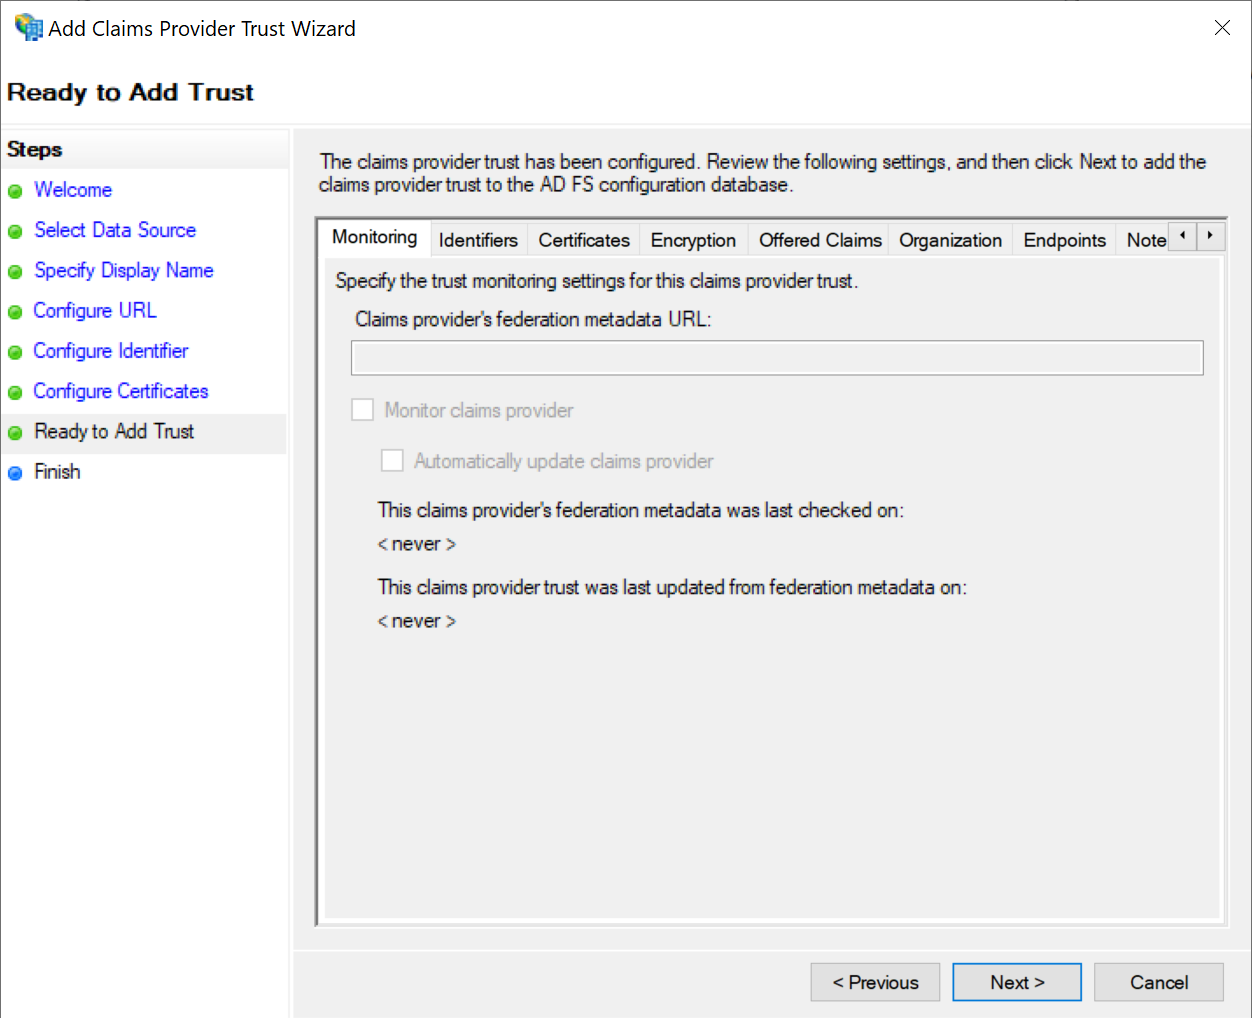
Click Next
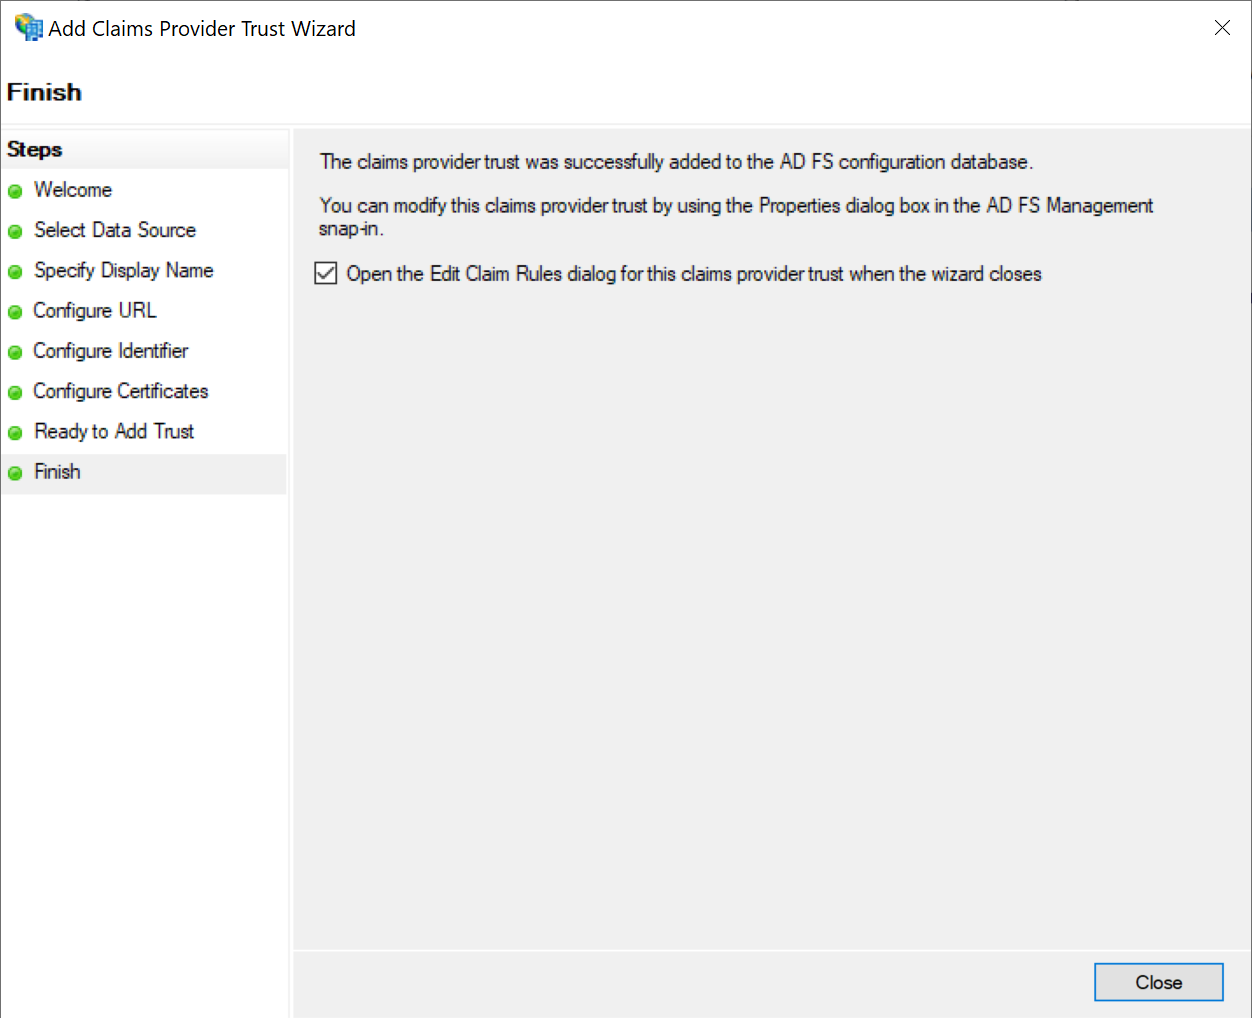
Click Close
After the DualShield claims provider has been added, it needs to be configured