This guide is for portal administrators to change the portal's certificate.
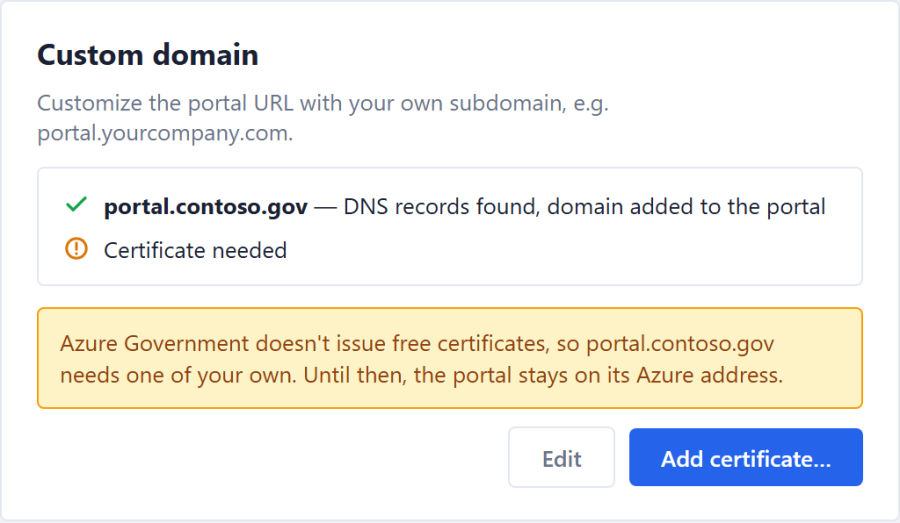
In the admin portal, open Portal Settings. When a domain has been added but has no certificate yet, the Custom domain card looks like this:
The buttons only show for a portal Administrator whose Azure account can manage the portal app (for example Owner or Contributor). Without that, the card lists the Azure permissions that are missing.
Click Add certificate…. The dialog tells you where to add the certificate in Azure and what it must cover. Leave it open; you come back to it in Step 4.
Certificate requirements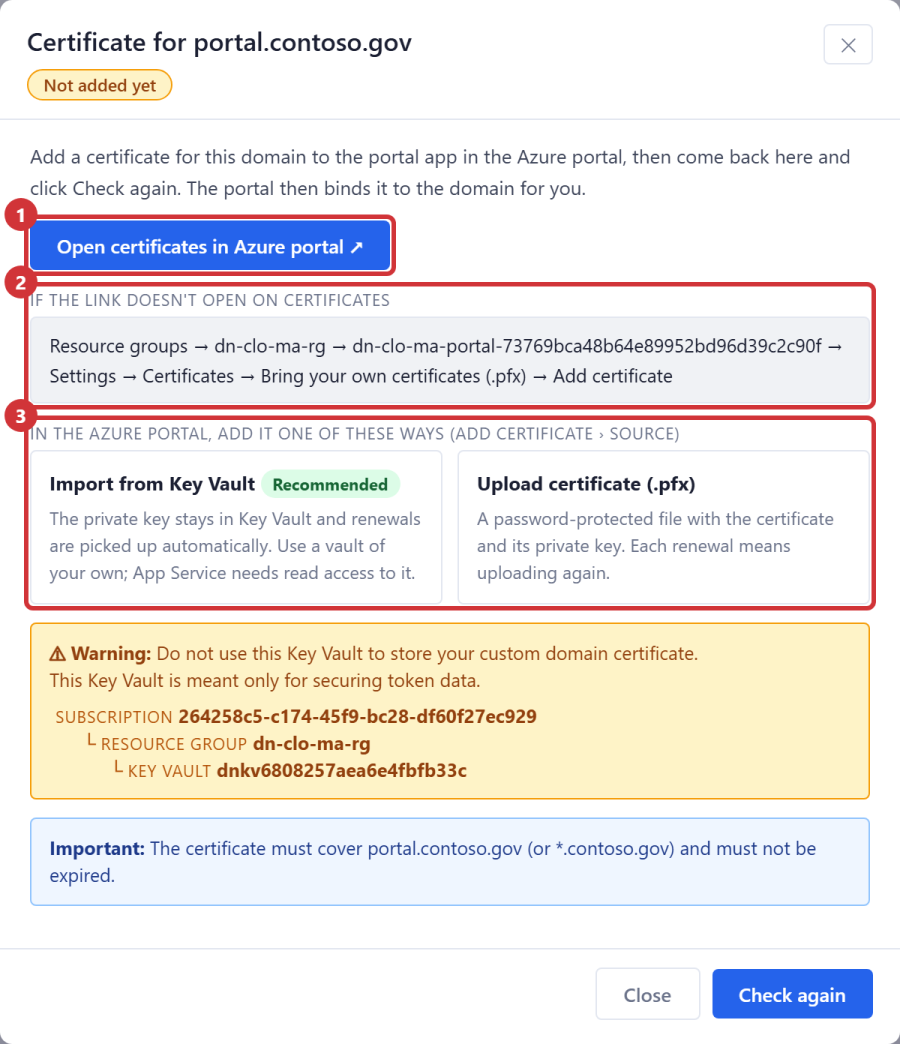
Important — certificate requirements: the certificate must cover the domain exactly (portal.contoso.gov) or with a wildcard for its parent (*.contoso.gov), and must not be expired.
On the portal app's Certificates page, open the Bring your own certificates (.pfx) tab and click Add certificate.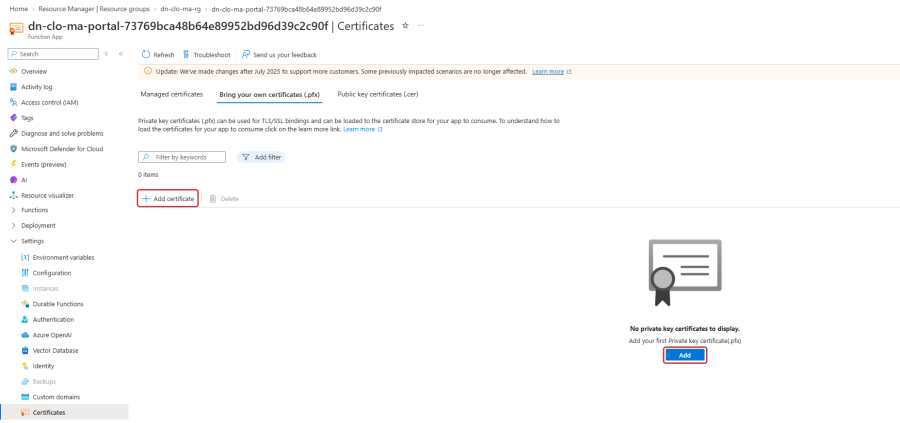
Either highlighted button works: Add certificate in the toolbar, or Add under the list while it's still empty.
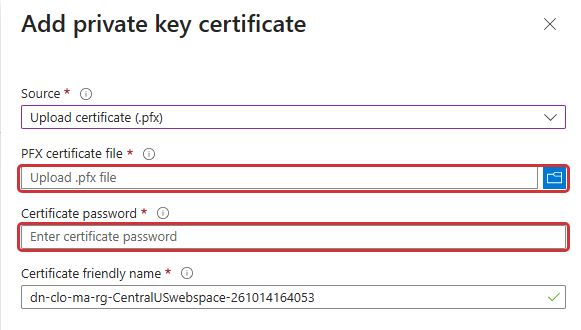
The Add private key certificate panel opens. Open the Source list and pick one of the two options in the table below. Import App Service Certificate is for certificates bought through Azure and isn't covered here.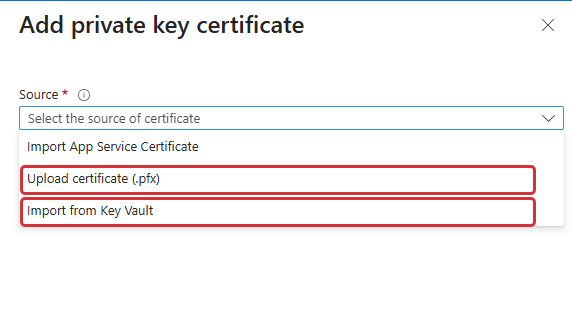
Import from Key Vault (recommended) | Your certificate is in, or can be put in, a Key Vault of your own | Renew it in Key Vault; App Service picks up the new version on its own, usually within a day |
Upload certificate (.pfx) | You have the certificate as a file | Upload the renewed .pfx again before the old one expires |
Then follow Step 3a or Step 3b for the source you picked.
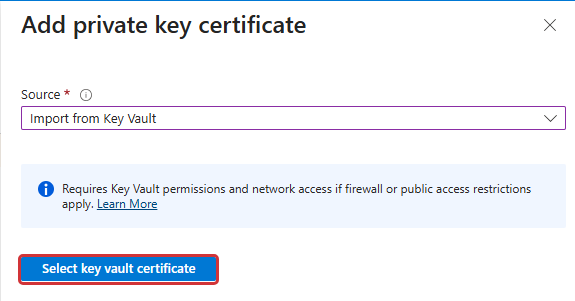
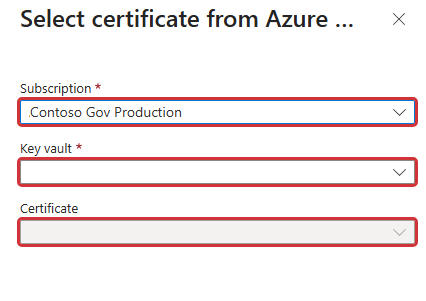
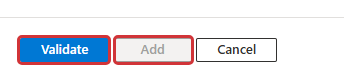
⚠ Warning: don't add the certificate to the Key Vault created by the portal install. That vault sits in the portal's own resource group and is meant only for securing the portal's token data. The certificate dialog names it in this warning; pick the certificate Key Vault in step 2.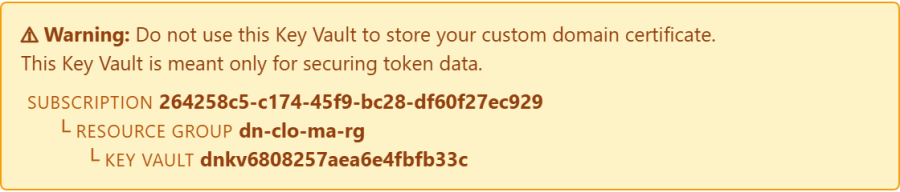
Important: You will need to provide "Microsoft Azure App Service Application" permissions to read the certificates delivered via your "Certificate Key Vault" , if you choose to use the key vault option.
To setup the "Certificate Key Vault" vault you can follow Microsoft's guides here:
Back in the portal, click Check again at the bottom of the dialog:
When it finds a certificate that covers the domain, the portal binds it, updates sign-in and closes the dialog; the card then shows the domain secured (Step 5).
If it can't secure the domain yet, the dialog stays open and one of these messages appears under the requirement line (… stands for your domain, certificate names, Key Vault or date):
Found a certificate. Securing … | It worked | Wait; the dialog closes and the card shows the secured domain (Step 5) |
No certificate for … yet. If you've just added one, give it a minute and check again. | Azure doesn't show one on the portal app yet | Give it a minute after adding, then Check again |
A certificate was added, but it's for …. It needs to cover …. | It covers a different name | Add one that covers the domain or its wildcard |
App Service can't read the certificate in the Certificate Key Vault (…). Give App Service read access to the Certificate Key Vault, then check again. | The Certificate Key Vault blocks App Service | Grant the read access in Step 3a, then Check again |
The certificate for … expired on …. Renew it with your certificate authority, then replace it in the Azure portal (or update it in Key Vault). | It's already out of date | Renew it, add the new one, then Check again |
… isn't on the portal app any more. Close this and set up the custom domain again. | The domain was removed in Azure | Close the dialog and set the domain up again (Part 1) |
A message starting with ✕ is an error from Azure; click Show details to get more information on the error.
Once secured, the card shows where the portal is served and which certificate it uses. The portal's Azure address keeps working too.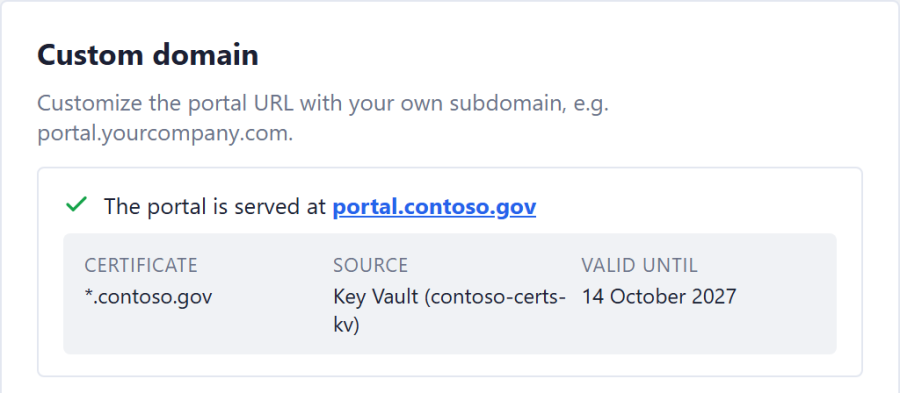
Click Manage certificate… on the secured card: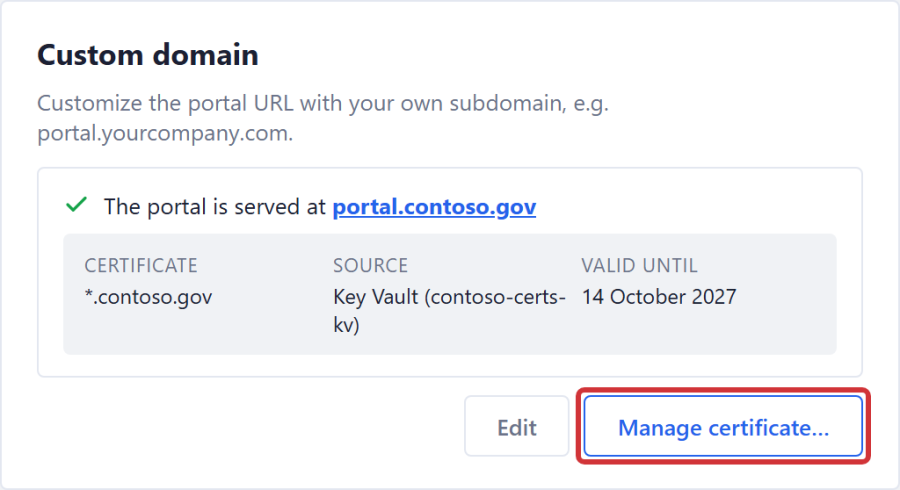
The dialog shows what the certificate covers, when it expires and where it comes from, with how that kind of certificate renews: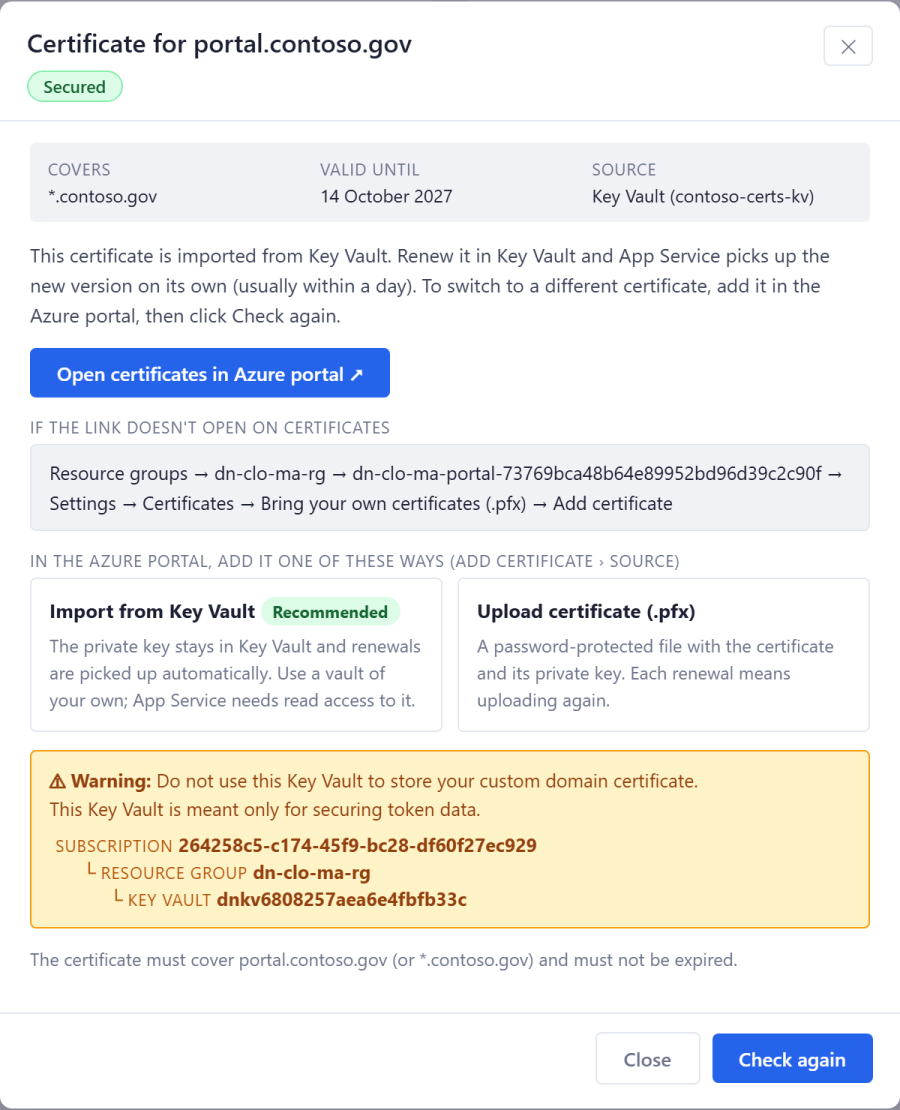
The process of renewing TLS certificates depends on where the certificate comes from; accordingly, the renewal is automatic or manual:
Key Vault, issued through the certificate Key Vault by DigiCert or GlobalSign | Automatic | Nothing. Key Vault renews the certificate before it expires, App Service picks up the new version within 24 hours, and the card updates on its own |
Key Vault, from any other CA | Manual in Key Vault, automatic in App Service | Add the renewed certificate to the certificate Key Vault as a new version. App Service picks it up within 24 hours and the card updates on its own; Check again shows it straight away. Microsoft's renewal guides are listed in Part 2, Step 3a |
Uploaded .pfx | Manual | Azure does not renew it. Upload the renewed .pfx in Azure (Part 2, Step 3b), then click Check again; the portal swaps it in |
When fewer than 30 days are left on the certificate, the card turns amber and shows the following:
[image: The card when the certificate expires in under 30 days]and the following once the expiry date passes:
[image: The card once the certificate has expired]In both cases, Check again is used to fetch the new custom domain certificate renewal and certificate binding status.
Renew in Azure portal ↗ opens the Azure portal to renew the certificate by providing a new certificate or updating the Certificate Key Vault.