By default, your portal has an address Azure generated for you, ending in azurewebsites.us. This guide shows you how to replace it with your own, for example, dscloma2.deepnetid.com, so it's easier for your team to remember and looks like part of your own organization.
In GCC High there are two parts. In this part you point your address at the portal. Azure Government doesn't issue free certificates, so in Part 2 you add your own certificate for the address.
Before you start
- You're signed in to the admin portal with the Administrator role.
- You know which web address you want to use (e.g. dscloma2.deepnetid.com).
- You, or whoever manages your company's DNS, can add two new records there.
- You have a certificate for that address, or know how you'll get one. You'll need it in Part 2.
Step 1: Open Portal Settings
From the Dashboard, click Portal Settings, then find the Custom domain card and click Set up. If a domain is already set the button reads Edit; changing the domain uses the same steps.
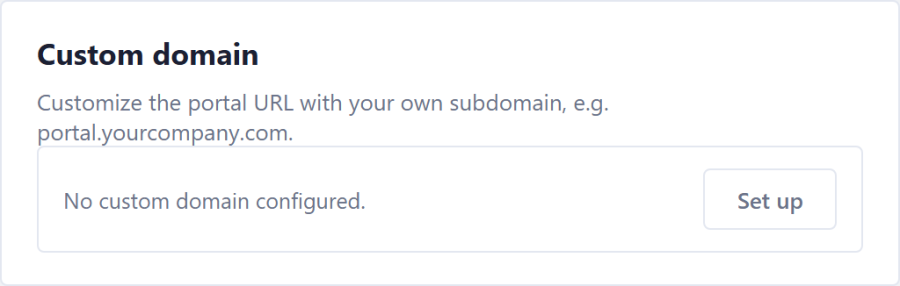
The Custom domain card in Portal Settings, with its Set up button
Step 2: Type in your address
Type the address in three parts: Subdomain, Domain and Top-level domain (for example dscloma2 . deepnetid . com). The full address appears under them as Portal address. Then click Show DNS Records to reveal the two records you'll need to add.
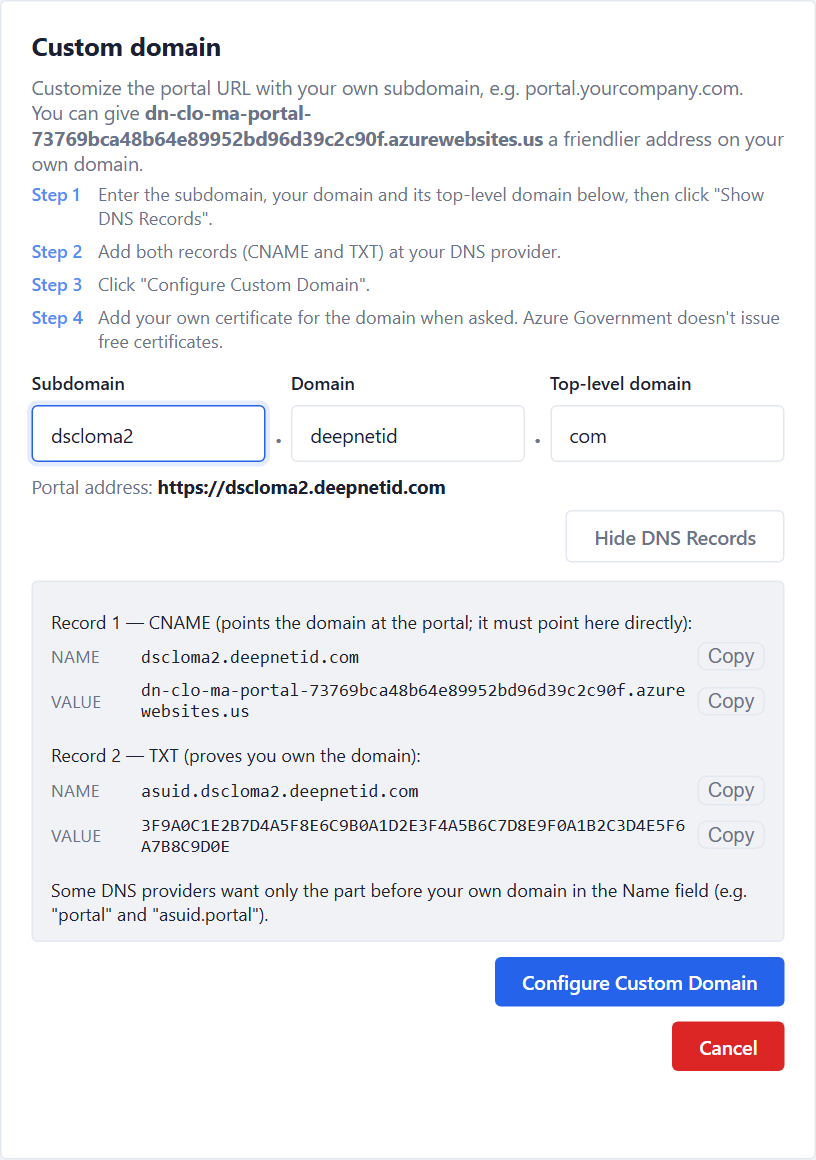
The address fields and the two DNS records, each value with its own Copy button
Step 3: Add both records with your DNS provider
Sign in to wherever you manage your domain's DNS and add both records using the values shown on the Portal Settings page. They look like this:
ℹ️ Some DNS providers want only the part before your own domain in the Name field: dscloma2 and asuid.dscloma2.
⚠️ Point the CNAME record straight at the portal's azurewebsites.us address, not through another CNAME.
ℹ️ If you're not sure how to do this yourself, your IT or DNS provider can usually add the records for you in a couple of minutes. Just send them the values shown on this page.
Step 4: Click "Configure Custom Domain"
Once both records are in place, go back to Portal Settings and click Configure Custom Domain. The portal checks the records and adds the domain to the portal app.
If Azure can't see a record yet, Configure stops and tells you which record is missing and what it should hold. New records can take a few minutes to appear. Wait, then click Configure Custom Domain again. Show details ▸ shows Azure's own message.
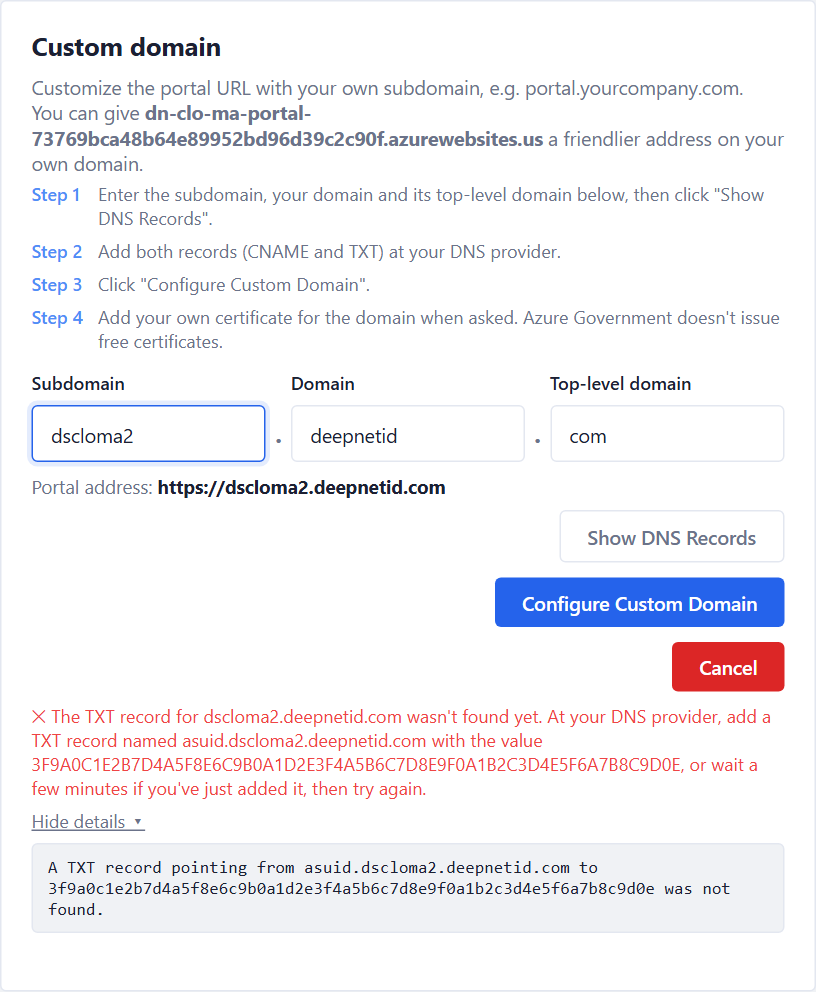
A missing TXT record: the message names the record and its value, and Show details opens Azure's own message
Step 5: Add your certificate
When both records check out, the card shows Certificate needed and the Add certificate dialog opens. Carry on with Part 2 (next page) to add the certificate for your address.
⚠️ Don't remove the records you added afterward. They need to stay in place for the address to keep working.
What's next
Now that you have customized the domain name of your portal, you will also need to customize the certificate of the portal.
Customize Portal Certificate: Computer Logon Management Portal