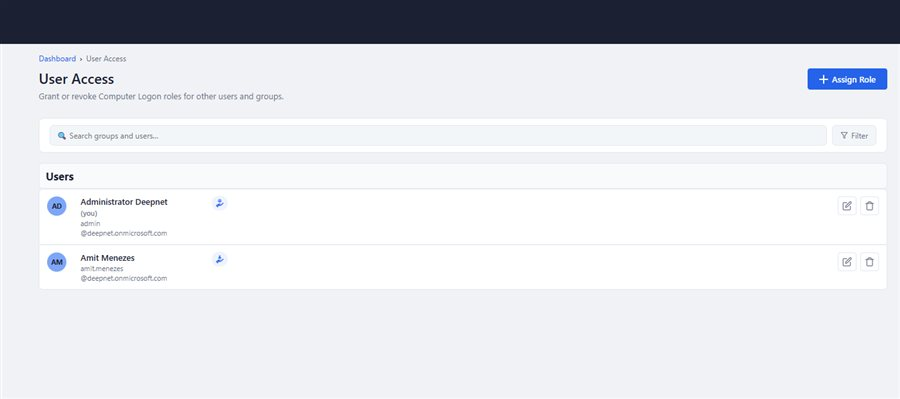
You can invite users in your organization to help manage the portal, and choose exactly what each user is allowed to do. This guide walks you through managing that access.
Before you start
From the Dashboard, click User Access. This page lists everyone who currently has access, split into Groups and Users.
To assign a role to a user or user group, click the Assign Role button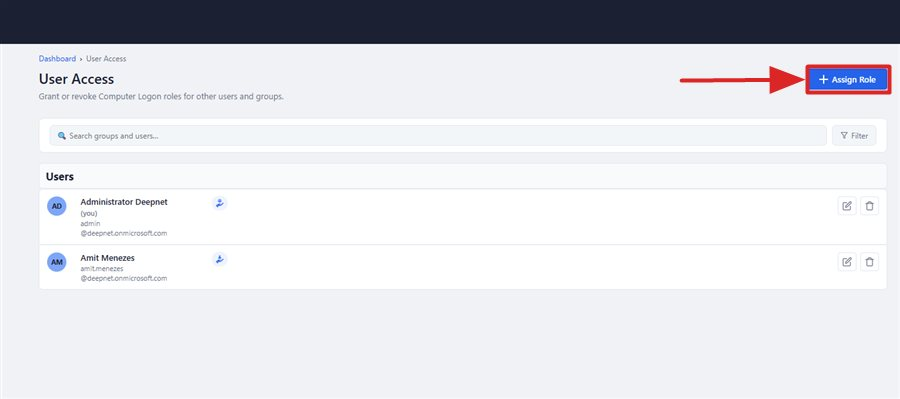
The Assign a role window will pop up
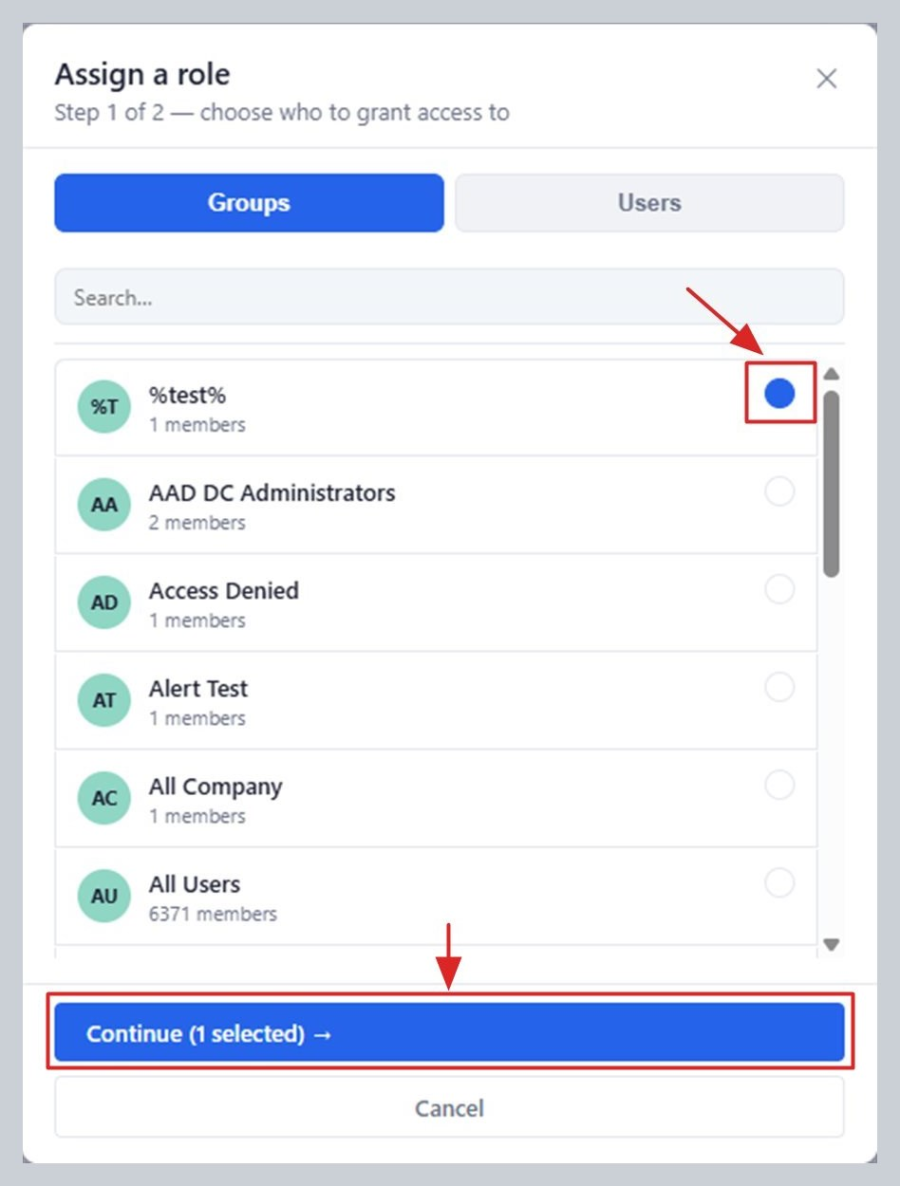
Select the user(s) or user group(s) you want to grant access to, then click "Continue →"
Now, you need to choose the level of access
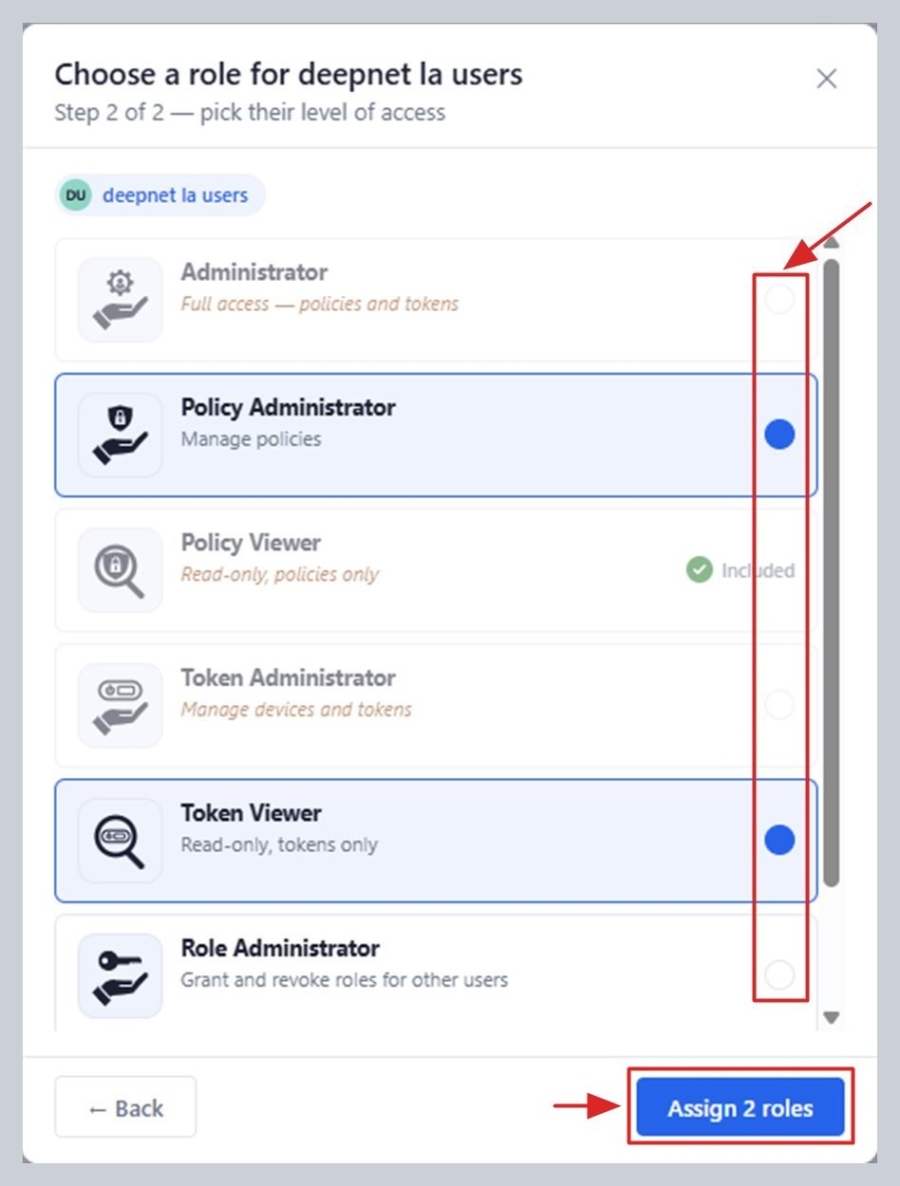
Select one or more roles. Only give someone as much access as they actually need.
Click Assign. That person (or everyone in the group) can now sign in to the portal themselves and use whatever you gave them access to — there's nothing else for them to set up.
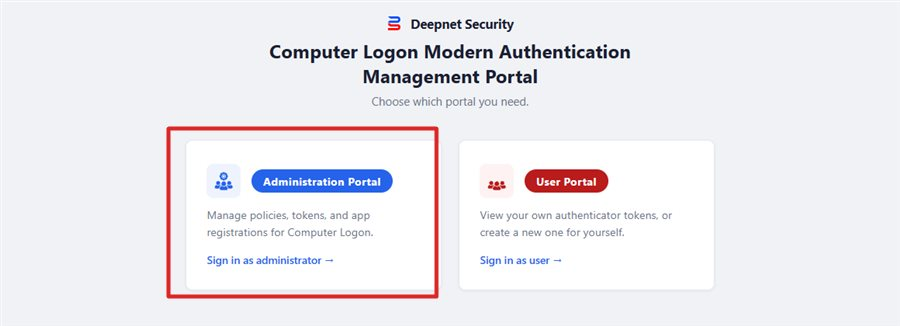
There are two access portals provided by the management portal — the Administration Portal and the self-service User Portal. Administration Portal
User Portal
The portal has the following access roles:
|
Back on the User Access page, each row has:
ℹ️ Can only grant or remove a role with Role Administrator. Can only be done to a user with matching Policy and Token management roles already held by the access granting/removing user.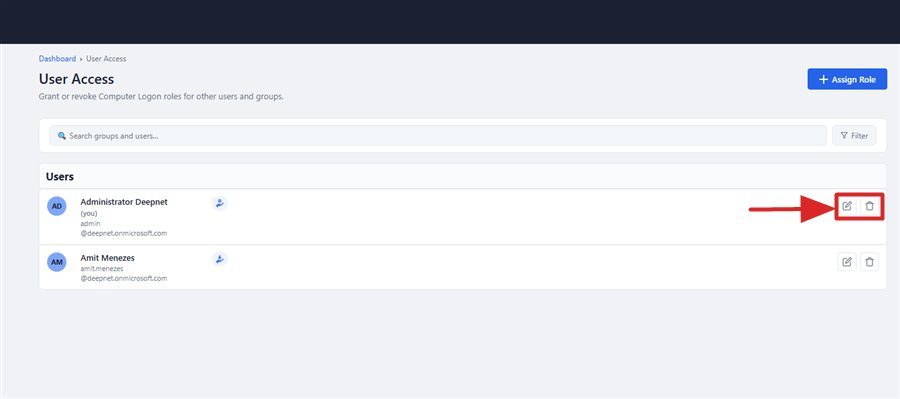
The Edit access and Delete icons on each row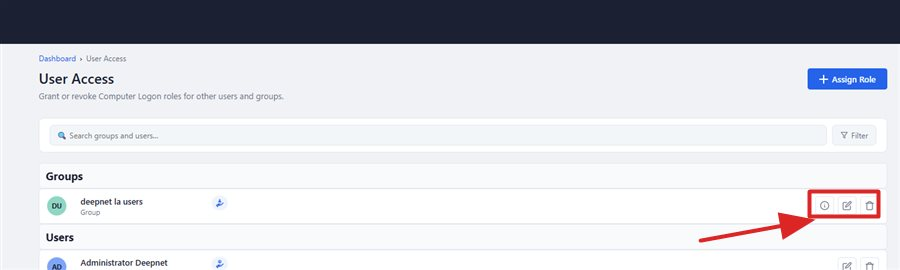
Groups and users are listed in their own sections, each with matching row actions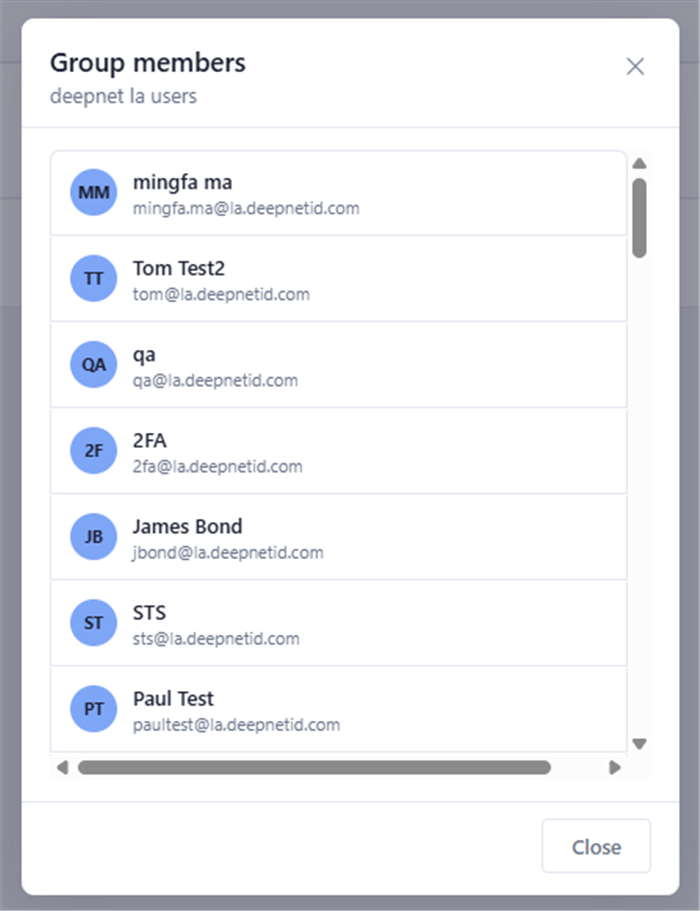
Clicking Info shows the group's real members
 Administrator
 Policy Viewer
 Policy Administrator
 Token Viewer
 Token Administrator
 Role Administrator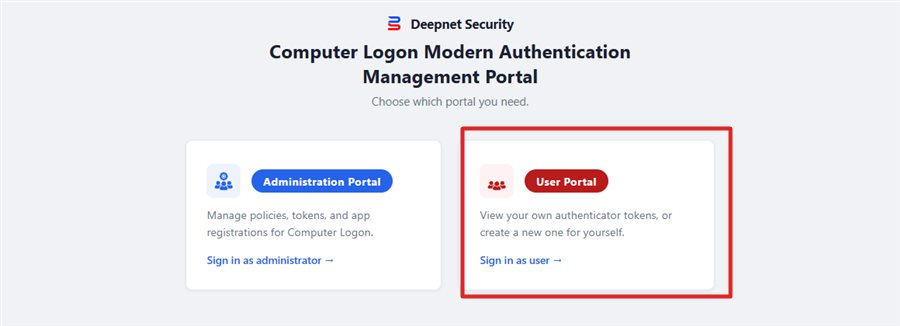
 User Portal Access