The utility dsclone (DualShield Clone Tool) is primarily used for setting up a cluster of DualShield servers. DSClone is used to create mirror servers from the primary DualShield server. In addition, DSClone can also be used to move an existing DualShield server to another machine.
Prerequisites:
As a matter of fact, the machine hardware do not have to be identical. You may have a similar OS instead of identical, for example, SBS 2011 and 2008 R2. But make sure both machines have the same OS architecture, e.g. x86 or x64, and the new machine has sufficient memory for running the Java virtual machine.
Steps
2. Extract the file to a temp folder (e.g. C:\DSClone) where it is readable and writable;

3. Open the windows console in admin mode. Change directory to the clone pack directory on the local drive. In my example it will be in C:\DSClone\dsclone\clonepack.
4. Run "dsclone backup";
![]()
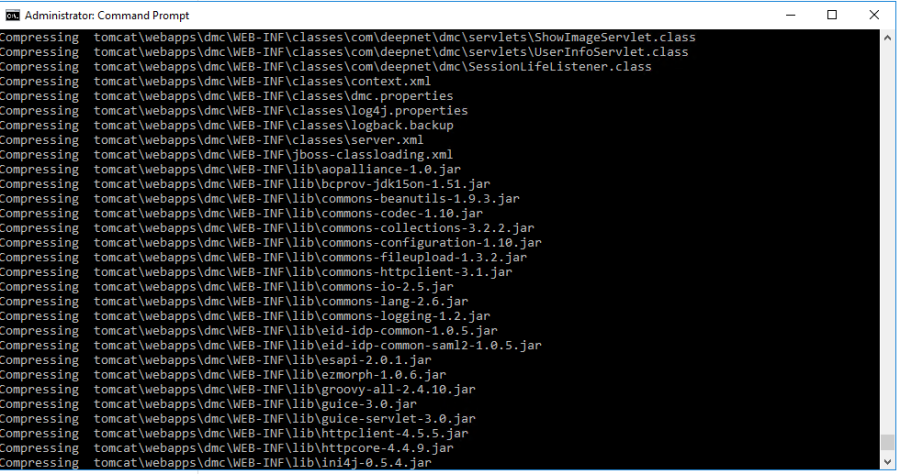
5. The DSClone tool will now start compressing all the configuration from your existing DAS setup, and if you are using the MySQL database that is shipped with the product, it will also compress and take a snapshot copy of that.

6. The process will create a bucket file, within the clonepack folder. This will house all the compressed snapshot of the existing setup. Wait it to finish. as this can take several minutes.

7. Copy the whole folder (c:\DSClone) to the same location new machine;

8. On the new machine open the windows console in admin mode. Change directory to the clone pack directory on the local drive. In my example it will be in C:\DSClone\dsclone\clonepack.
9.Run "dsclone deploy" and follow the instructions on the screen.

10. You will be asked to make sure there is no Dualshield server already installed on this machine:
![]()
Type Y.
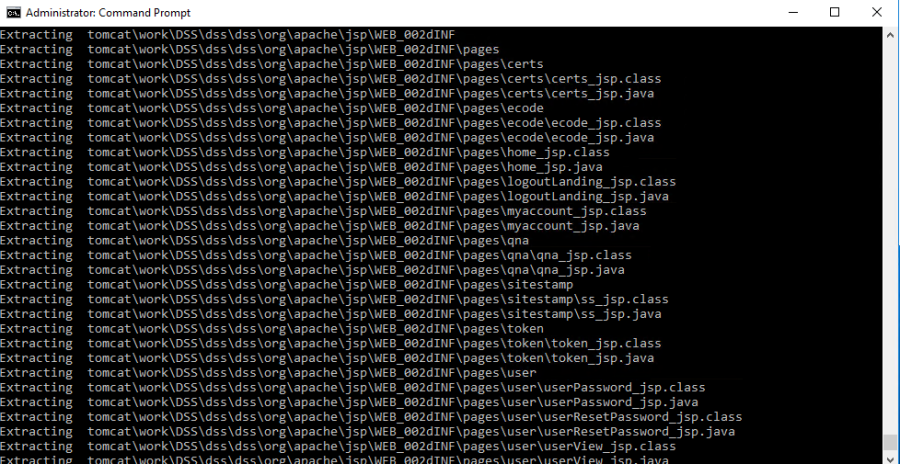
11. The clone tool will now begin extracting the contents of the Bucket that resides in the clonepack directory that was copied over from the primary machine. Again, this will take a few minutes.

12. On completion you will be asked if it can overwrite the Windows host file.
![]()
Type Yes. It will insert an entry into the host file so that the FQDN of the DualShield server will point to the local IP address, i.e. 127.0.0.1

13. If the DualShield server is using an external MS-SQL server that is running on the same machine, then you will have to install the MS-SQL server on the new machine as well, and migrate (i.e. backup then restore) the DualShield database. You might also have to update the IP address of the SQL database server in the DualShield's server.xml file which is located in the "C:\Program Files\Deepnet DualShield\tomcat\conf" folder.
Open server.xml in a text editor, search for the pattern of text below:
url="jdbc:sqlserver://xxx.xxx.xxx.xxx:3306/...."
in which xxx.xxx.xxx.xxx is the IP address of the SQL server. Update it if neccessary.
Restart the DualShield service if you made changes.
14. If there was no error in the previous steps, then the DualShield server should have been successfully moved to the new machine. You should be able to login into the Management Console. However, you will now need to update server's IP address in settings of all of DualShield agents. Typlically, there are 3 types of agents that you might have been using, namely DualShield Radius, DualShield Windows Logon Agent and DualShield IIS Agent. You need to check the settings of all instances of those agents and update the IP address in them if neccessary.
15. Some customers might also have installed some DualShield agents on the DualShield server machine. If that's the case for you, then you will have to also install those agents on the new server machine as well. If the Windows Logon agent is involved, then you will have to update the following DNS host entries in your DNS server:
* We also provide Linux version of dsclone, it is basically shell script, you can get the instructions by reading the script itself. The instruction is included the package includes as a text file.