
Before you will be able to add a FIDO2 key as an authentication method to your Bitbucket account you will need to enable two-factor authentication.
First, log in to your Bitbucket application using a web browser, then after clicking on the cog icon select the option "Personal Bitbucket settings";
In the left hand column on the web page, and in the section "Security", select the option "Two-step verification";

Once two-step authentication has been enabled, scroll down the option settings until you reach the section "Security keys".
Under the prompt "Device name", provide a suitable name for your key then click on the button "Add security key";

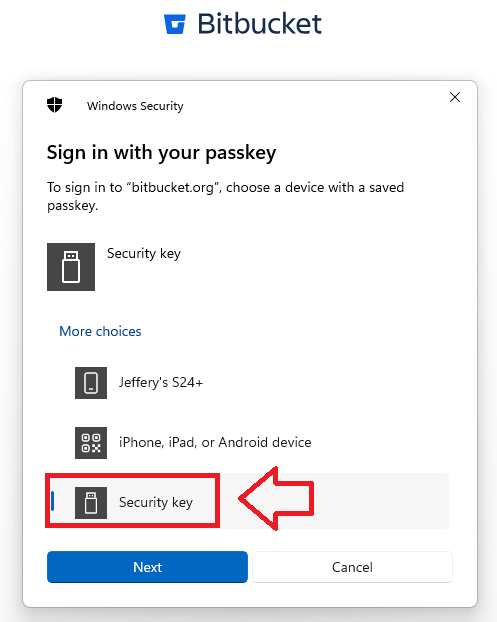
When asked where to save this passkey, select the option "Security Key", then click ![]() ;
;
You are now notified that access to google will be prepared with your Fido2 security key - click ![]() to proceed to the next step;
to proceed to the next step;

You will asked for permission to examine your Fido2 key, insert the key into a USB port then click ![]() ;
;

You will now be asked to touch the Fido2 key (in the case of a Fido key with a fingerprint reader you will need to swipe your finger on the key);

Provided you press the button on the Fido2 key in the allowed time, the passkey details will be stored on your Fido2 key, and you will be presented with the following confirmation;

Click "OK", and the FIIDO2 key will be registered with Bitbucket, and is ready to be used when you next log in.