Assigning Applications to the Reset Password Service Agent
In order for you to customise the Self-Service Console you will need to ensure that the agent "Reset Password Service" has been assigned to the application "Reset Password Service" (this is normally already the case after a default installation).
From the management console navigate to "Authentication | Agents", left click on the context menu of the agent "Reset Password Service", then select "Applications";
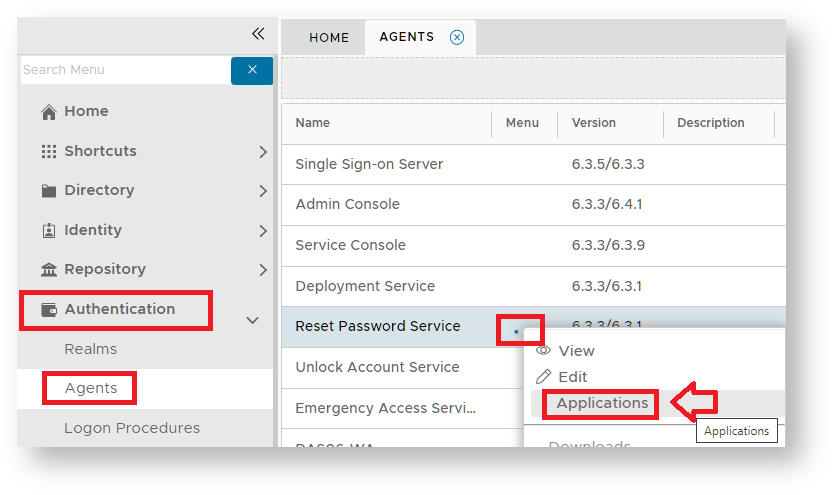
A new window will open titled "Applications" that will list all application assigned to the agent "Reset Password Service";
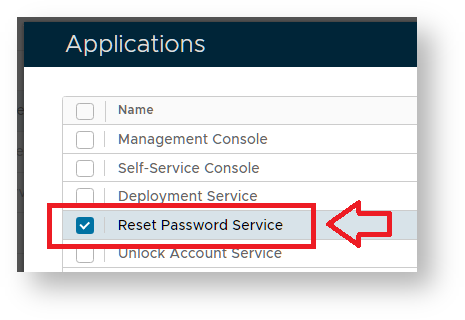
By default the Application "Reset Password Service" should already be assigned to the Agent "Reset Password Service" as this is normally assigned during installation (if this is not currently the case then select the application).
Creating a Customisation for the Password Reset Service Portal
Before the UI of an application can be customised you will need to ensure that the application has been selected in this list. In the example above the selected applications will all be available for customisation.
To create a new customisation of a user interface navigate to "Customisation | User Interface", then click on the "CREATE" button.
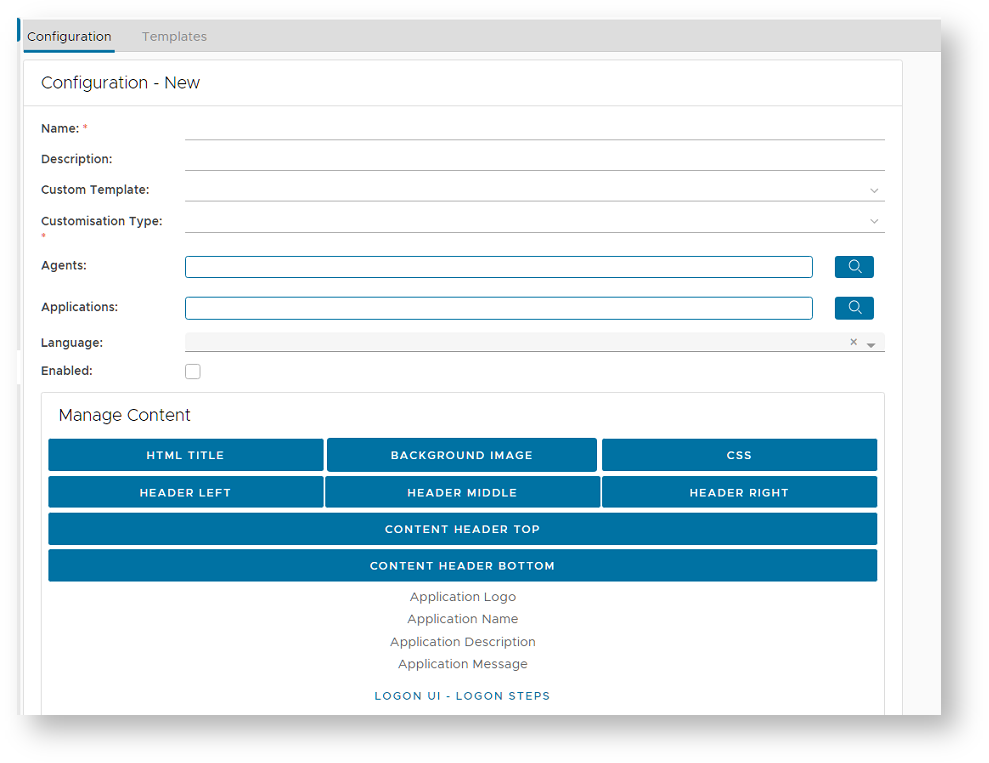
A new window will now open titled "Configuration - New" that can be used to customise the user experience for a selected application;
To produce a customisation for the SSO logon screen select Customisation Type "SSO Server", the Agent "RESET PASSWORD SERVICE", and the Application "RESET PASSWORD SERVICE";
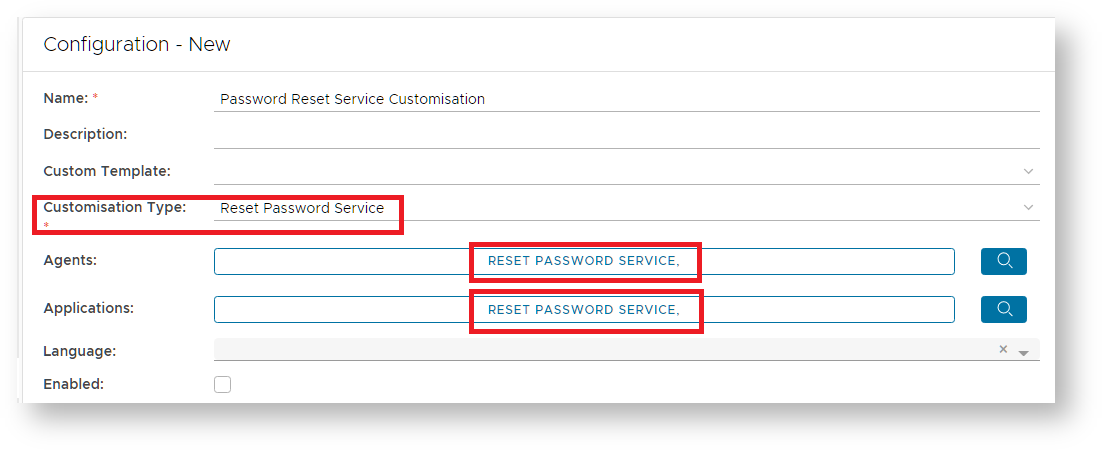
You will now need to supply the actual customisations that are to be applied to the Password Reset service then enable the customisation by clicking on the "Enabled" checkbox, then clicking on the "SAVE" button.