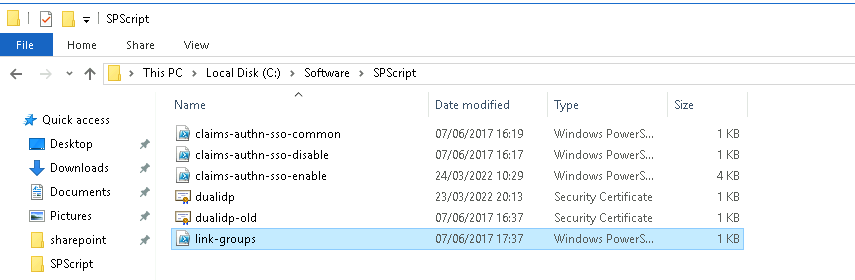
After you have created the all scripts and download the DualShield certificates, you need to put all those files into the same folder.
Run the SharePoint Management Shell as a administrator, execute "claims-authn-sso-enable.ps1"
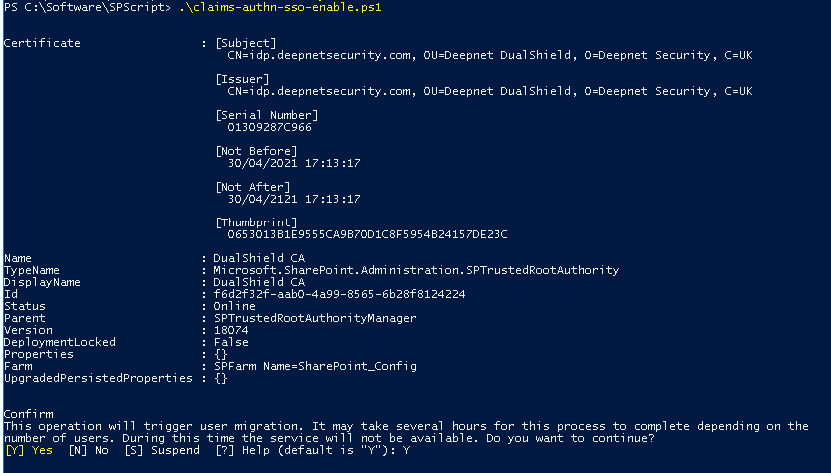
Now, you have successfully created the DualShield Identity provider.
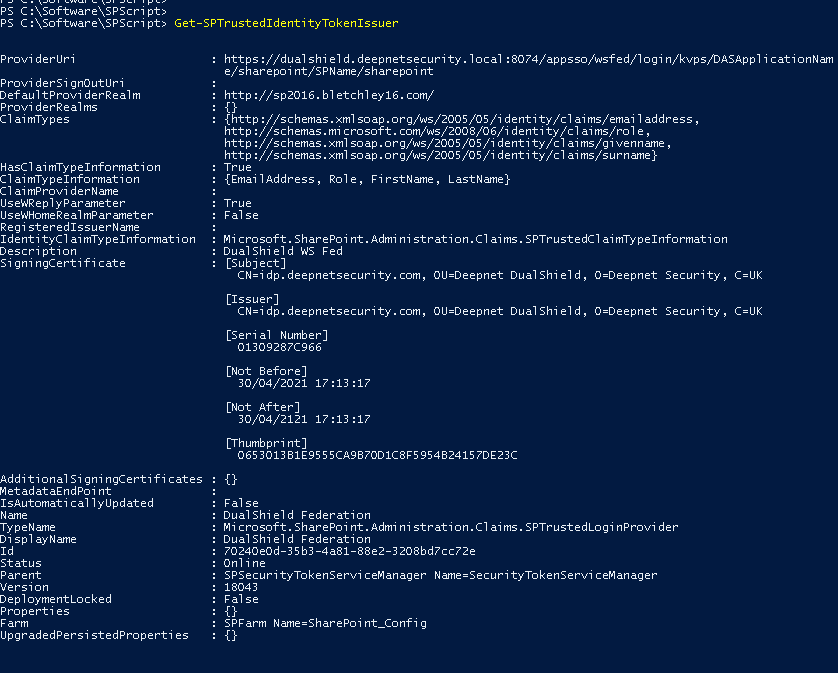
You can check by using the command
Get-SPTrustedIdentityTokenIssuer
To Add RoleClaimsExecute "link-groups.ps1"
![]()
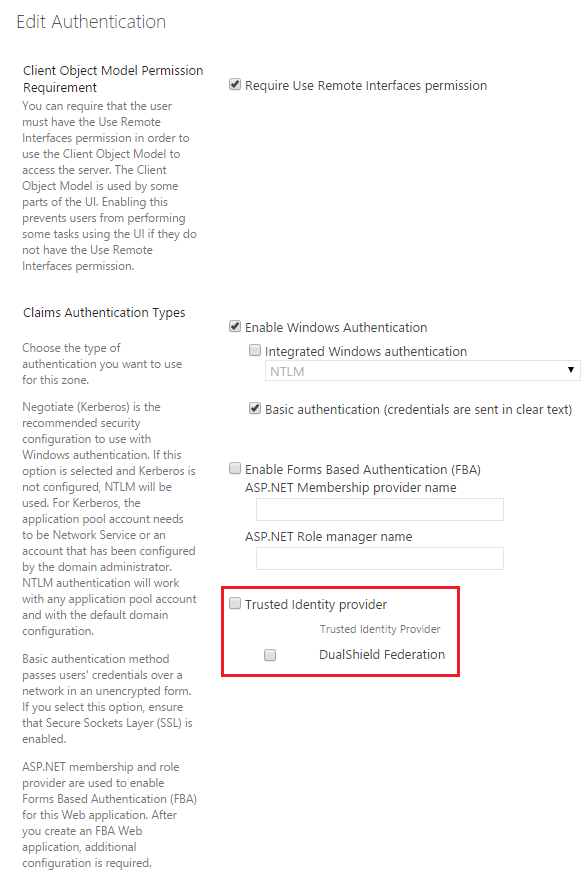
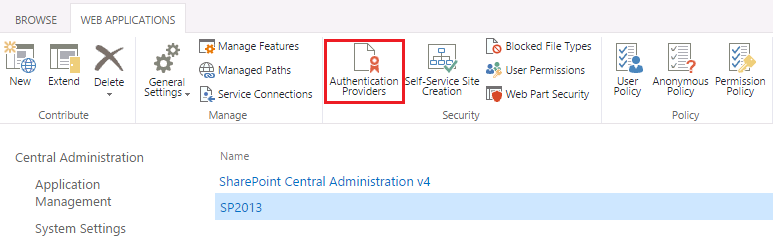
Log into SharePoint administrative web console, select a web application, e.g. "SP2013" and click "Authentication Providers" on the top.
You should find the newly created "DualShield Federation" in the Trusted Identity Provider list.