DualShield - Create a SSO logon procedure
- Login to the DualShield management console
- In the main menu, select “Authentication | Logon Procedure”
- Click the “Create” button on the toolbar
- Enter “Name” and select “Web SSO” as the Type
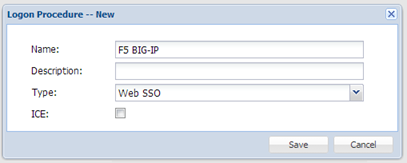
- Click “Save”
- Click the Context Menu icon of the newly create logon procedure, select “Logon Steps”
- In the popup windows, click the “Create” button on the toolbar
- Select the desired authentication methods, e.g. “Static Password”
- Click “Save”
- Repeat step 7 - 9 to add more logon steps if desired, e.g. “One-Time Password”
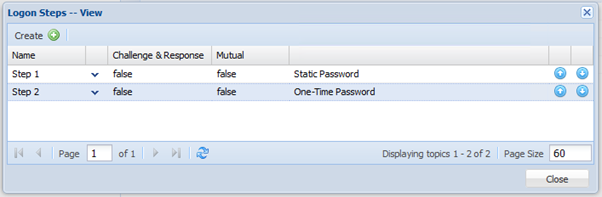
- Click "Save"
DualShield - Create a SAML application
- In the main menu, select “Authentication | Applications”
- Click the “Create” button on the toolbar
- Enter “Name”
- Select “Realm”
- Select the logon procedure that was just created
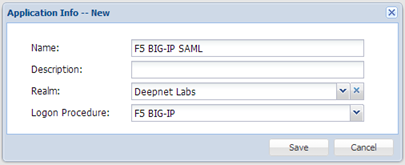
- Click “Save”
- Click the context menu of the newly created application, select “Agent”
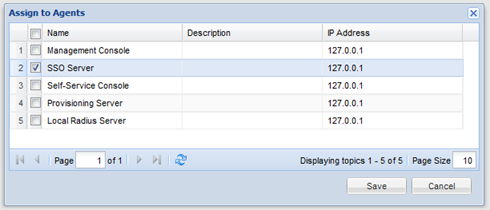 Select "SSO Server"
 - Click "Save"
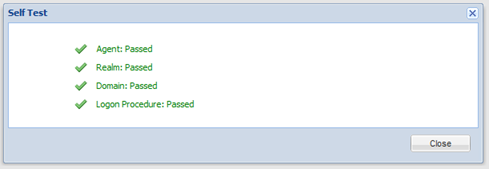
- Click the context menu of the newly created application, select "Self Test"
F5 - Create a new SP
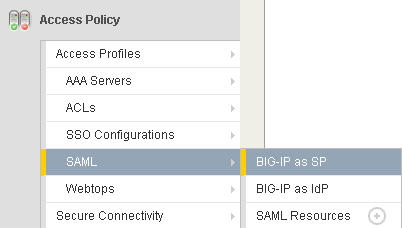
In the main tab, select “Access Policy | SAML | BIG-IP as SP”
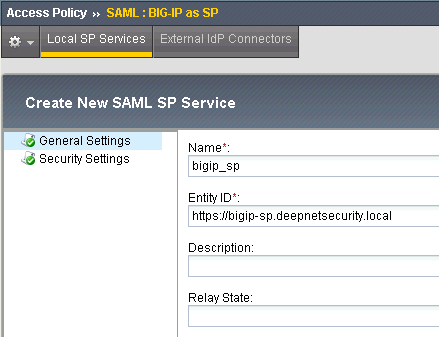
Enter the Name, e.g. "bigip_sp"
In the Entity ID field, we just use the virtual server URL as its Entity ID
Select "Security Settings":
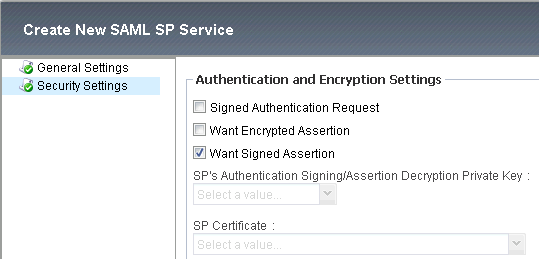
Select "Want Signed Assertion"
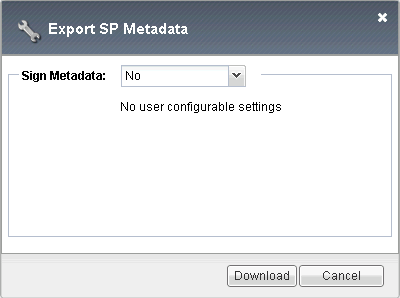
F5 – Download Metadata
Once completed, we need to export its metadata which will be used later in DualShield to create a SP.
DualShield - Register F5 BIG-IP as a SSO Service Provider
- Select “SSO” in the main menu
- Select “Service Providers”
- Click “Create” on the toolbar

- Enable "Sign on SAML assertion"
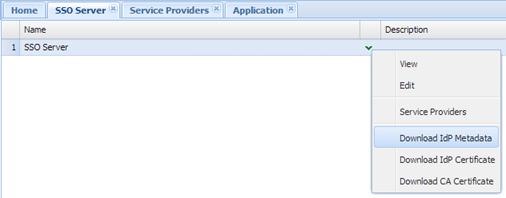
DualShield - Download IdP Metadata
- Select “SSO | SSO Servers”
- Click the context menu icon of the SSO server and select “Download IdP Metadata”
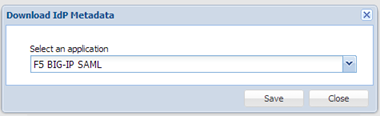
- Select the F5 BIG-IP application created in the previous step
- Save the metadata file into your hard disk
F5 - Register DualShield as an IdP Connector
In the Main tab, select “Access Policy | SAML | BIG-IP as SP”, you shall get a list of SPs that have been created:
Select “External IdP Connectors”
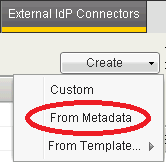
Click the down arrow on the “Create” button to show the drop-down menu, then select “From Metadata”
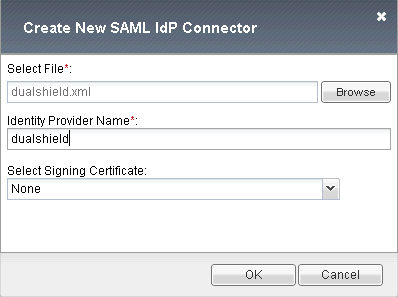
Select the DualShield IdP metadata downloaded in the previous step
Enter the Name: dualshield
Click “OK” to save it
Now, we need to edit the SAML IdP Connector settings:
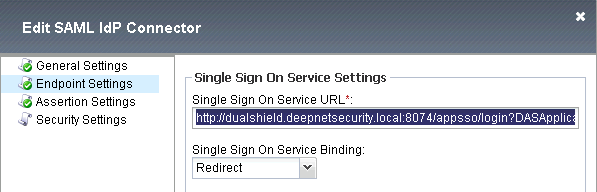
Select “Endpoint Settings”, in the Single Sign On Service URL you should see the URL similar to:
http://dualshield.deepnetsecurity.local:8074/appsso/login?DASApplicationName=F5%20BIG-%20IP%20SAML
F5 Big-IP has a bug that it does not accept URLs containing question mark (?). We have to replace it to:
http://dualshield.deepnetsecurity.local:8074/appsso/login/kvps/DASApplicationName/F5%20BIG-%20IP%20SAML
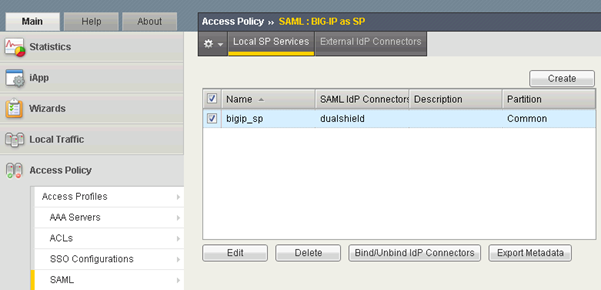
F5 - Bind the IdP Connector to the SP
In the Main tab, select “Access Policy | SAML | BIG-IP as SP”, you shall get a list of SPs that have been created:
Select the SP and click the "Bind/Unbind IdP Connectors" button
Click "Add New Row" button:
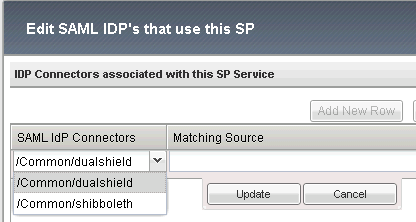
In the "SAML IdP Connectors" drop down list, select "dualShield"
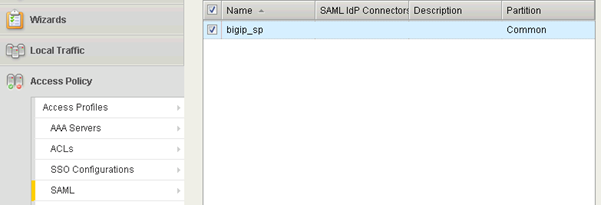
Click "Update" to finish it
Now you should see that the SP "bigip_sp" is bound to the IdP "dualshield":

F5 – Configure Access Policy
We need to add a “SAML Auth” to replace the “RADIUS Auth” policy.
Click the plus mark before “RADIUS Auth”.
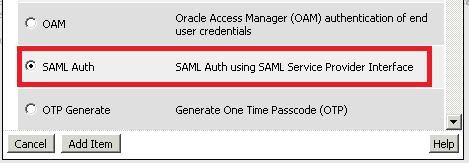
Enable the option: “SAML Auth”, then click “Add Item”:
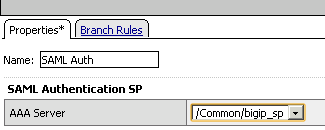
In "AAA Server" field, select "bigip_sp" that we just created and configured, then click "Save" to save it.
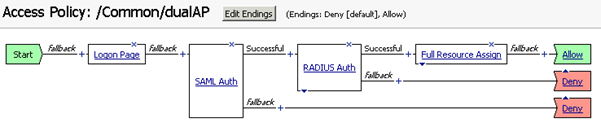
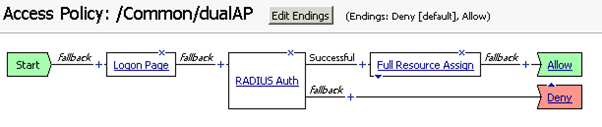
Click the cross icon "X" on "RADIUS Auth" to delete it. Now the access policy becomes:
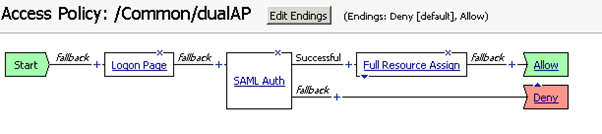
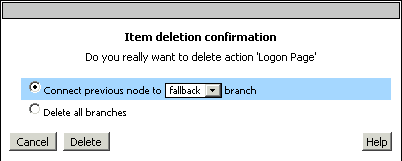
With SAML authentication, the Logon Page provided by Big-IP is redundant. So, delete it as well.
Finally, the access policy looks like:

Now, go back to Access Profiles List, notice the status flag is "Modified"
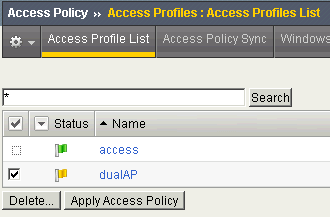
Click "Apply Access Policy" to save it.